
The making of Templo V
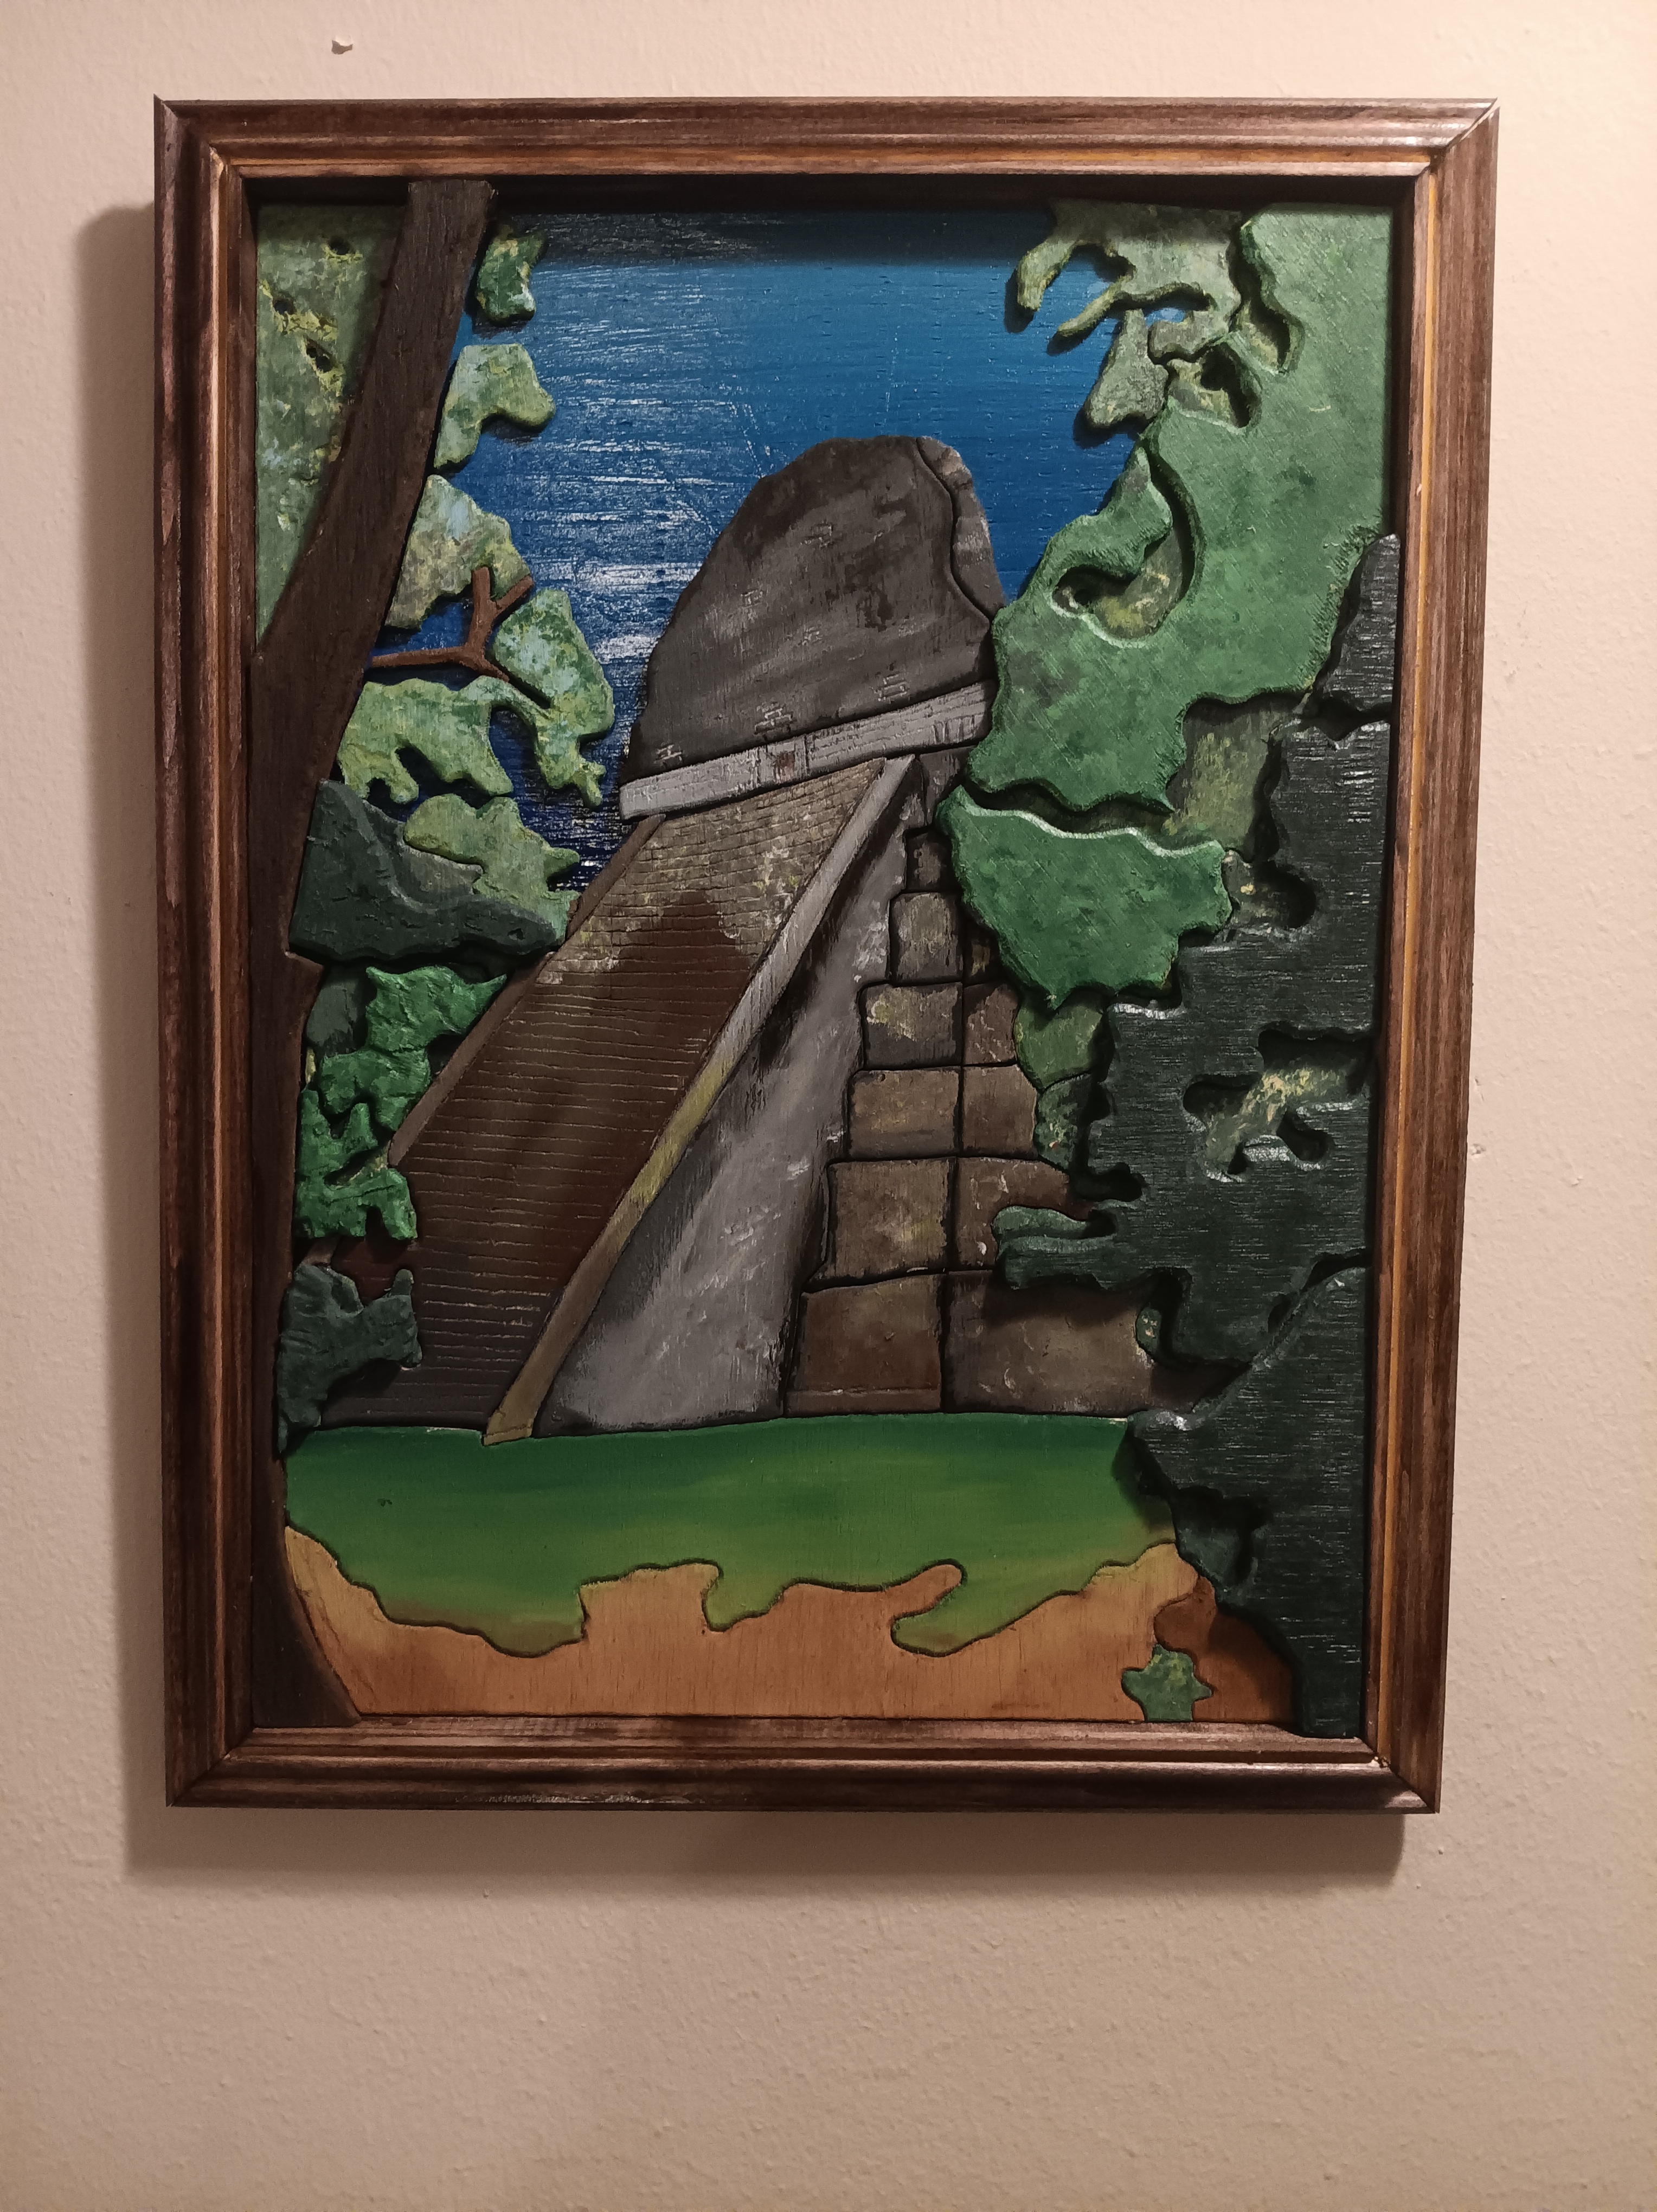
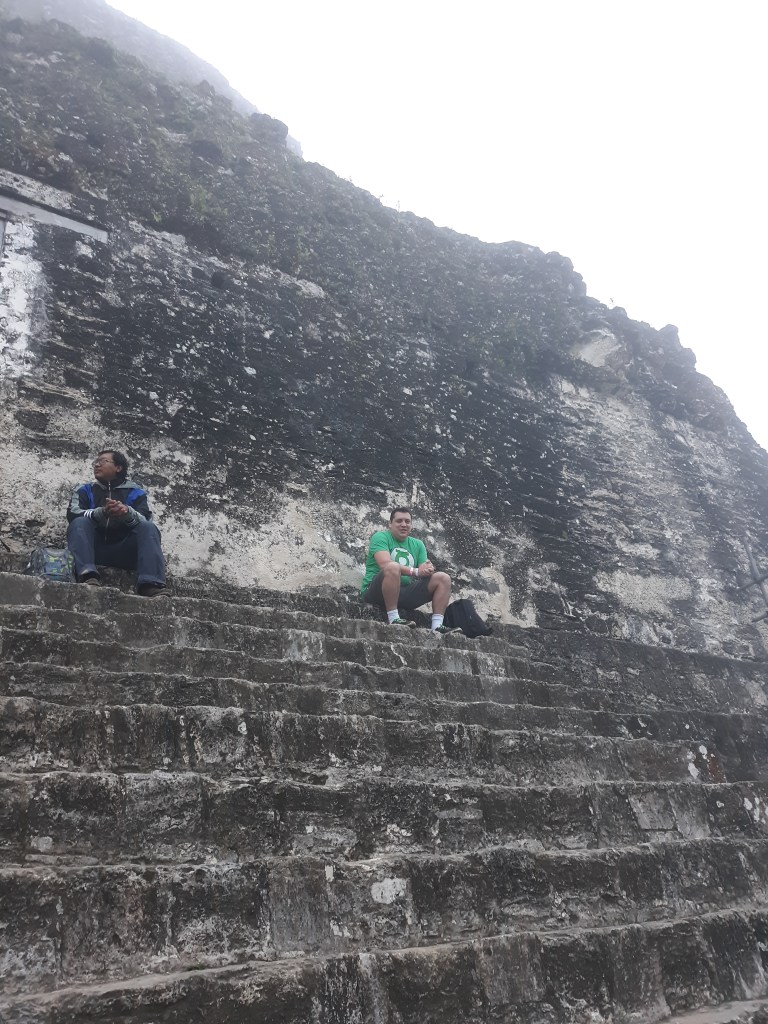


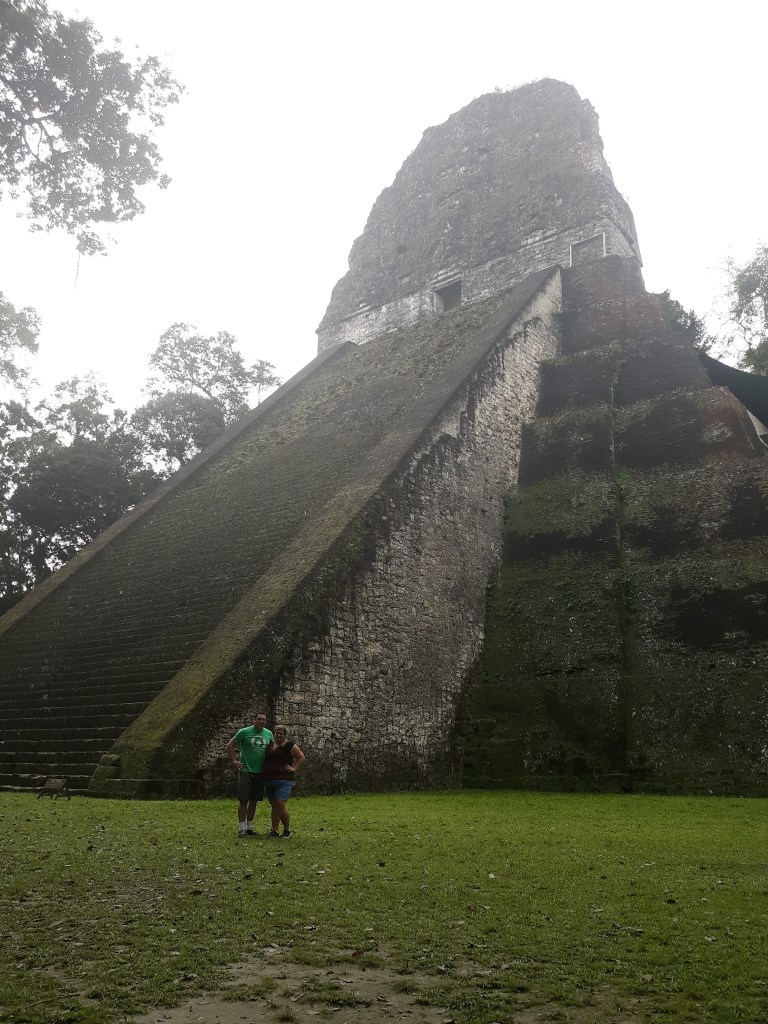
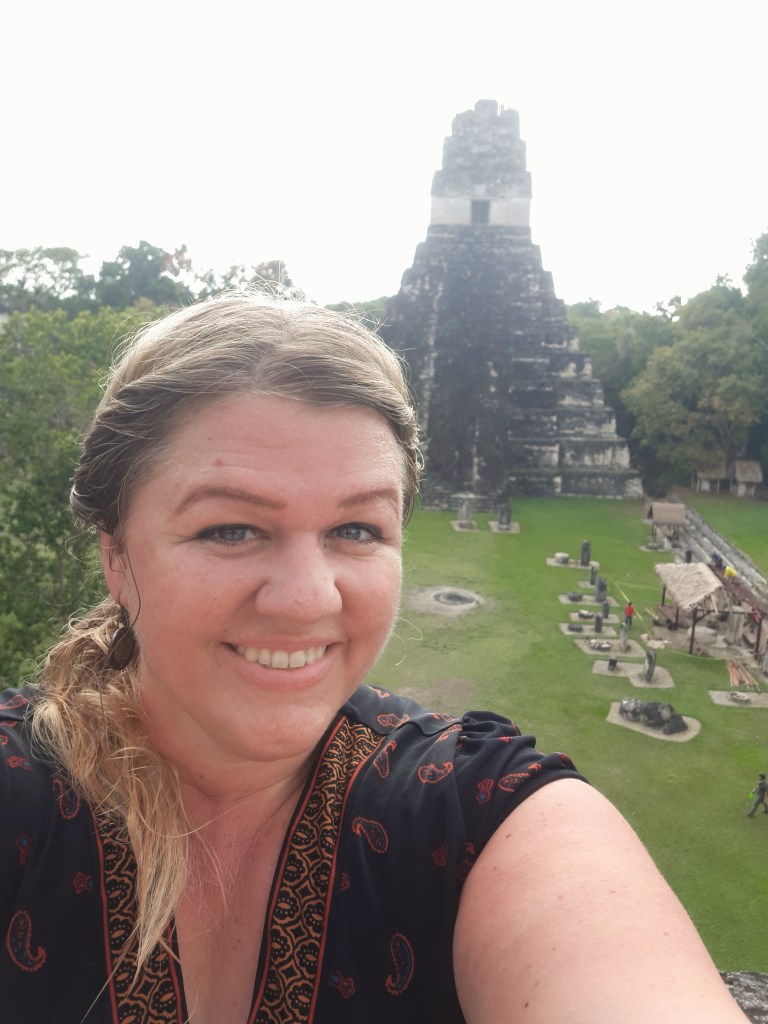
My husband and I went to Guatemala for our 10-year anniversary and were very excited to go on a sunrise tour of the Tikal ruins. With flashlights in hand, we followed our amazing tour guide through some of the ruins and finally hiked up one of the temples to await the sunrise and the awakening of the jungle. It was truly magical. As we continued the tour around all of the covered and uncovered structures, our guide at one point instructed us to look at the ground as we walked. “Don’t look up yet,” he warned. Then at the precise moment he said, “Now you can look up.” in front of us was a massive and very impressive temple that seemed to appear our of nowhere in the jungle. “Templo 5” he announced. Most of the pictures you see of Tikal are of the large temple in the plaz.a: “Templo 1” I think is it’s name. But our very favorite was Templo 5. My husband loved Tikal so my much he talked about going back the next day, but we already had other plans. So to commemorate his favorite part of our anniversary trip, I took one of the pictures for our trip, and made it out of wood.

The first step for me is always making a pattern I can transfer to wood.
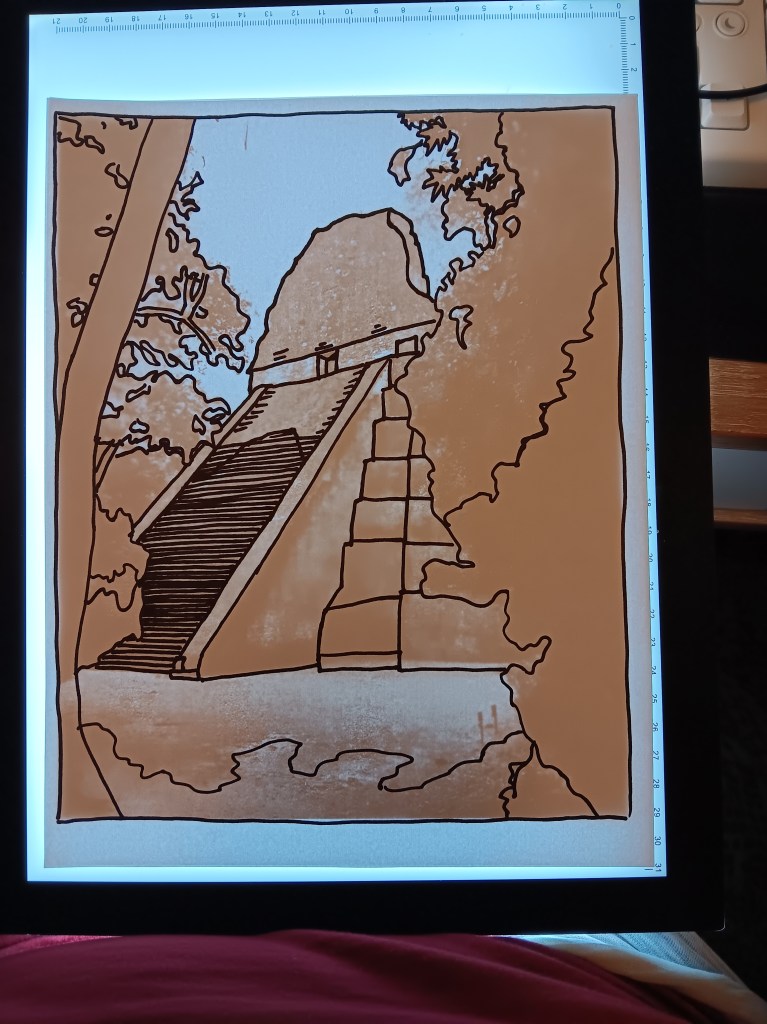
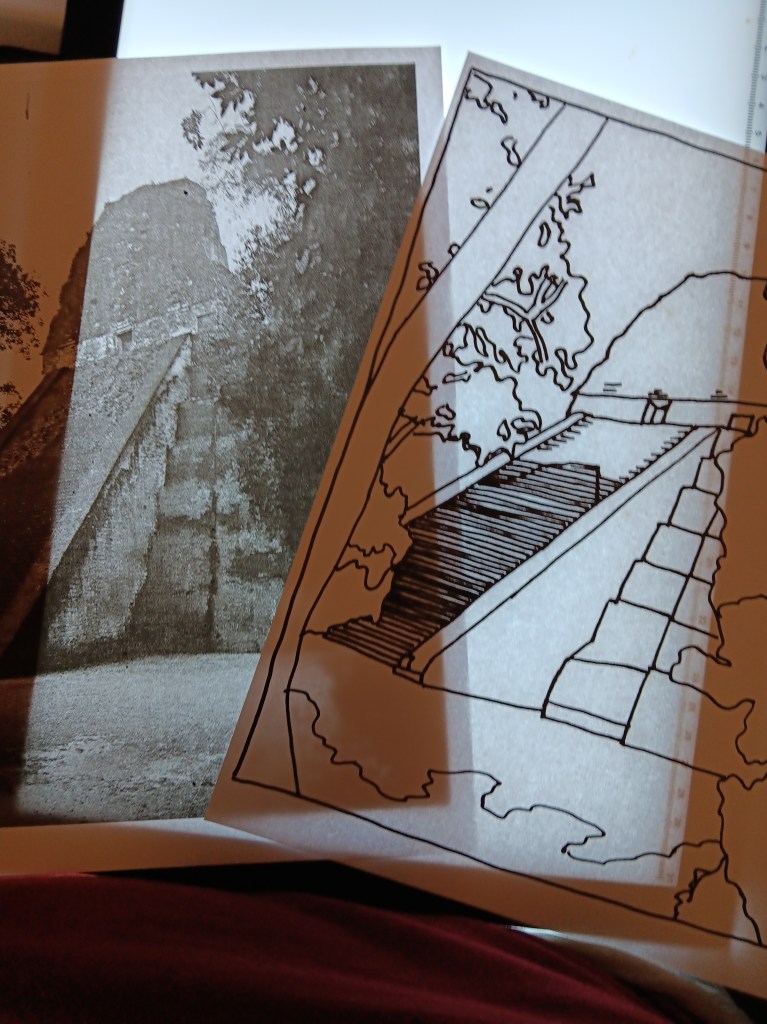
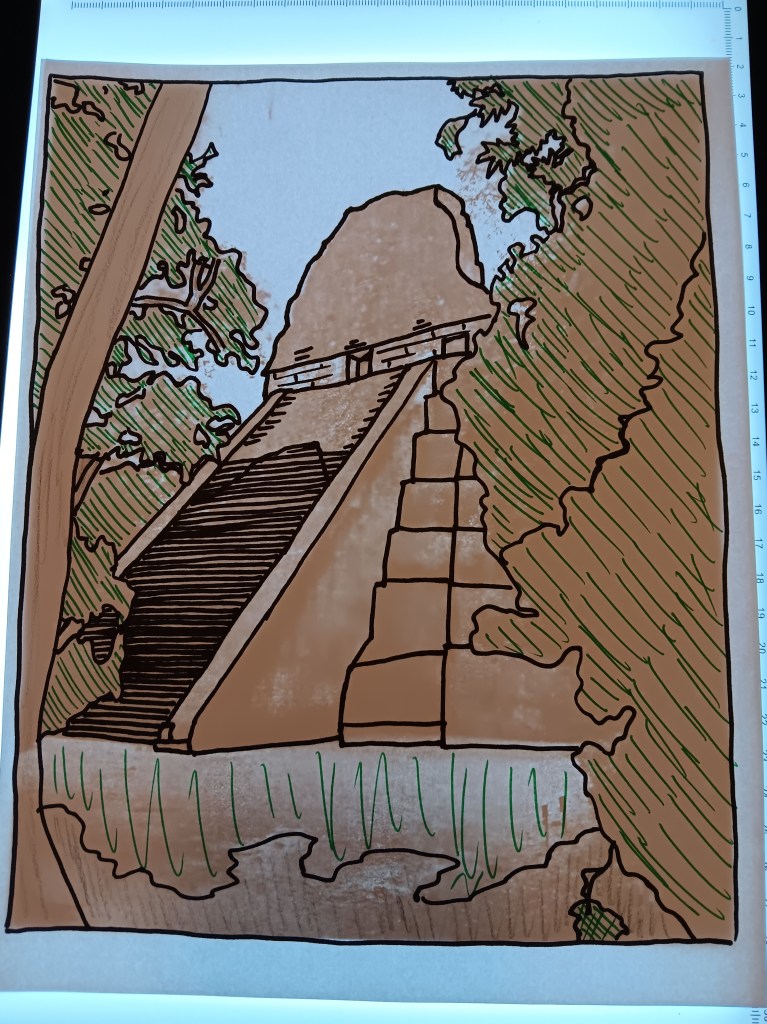
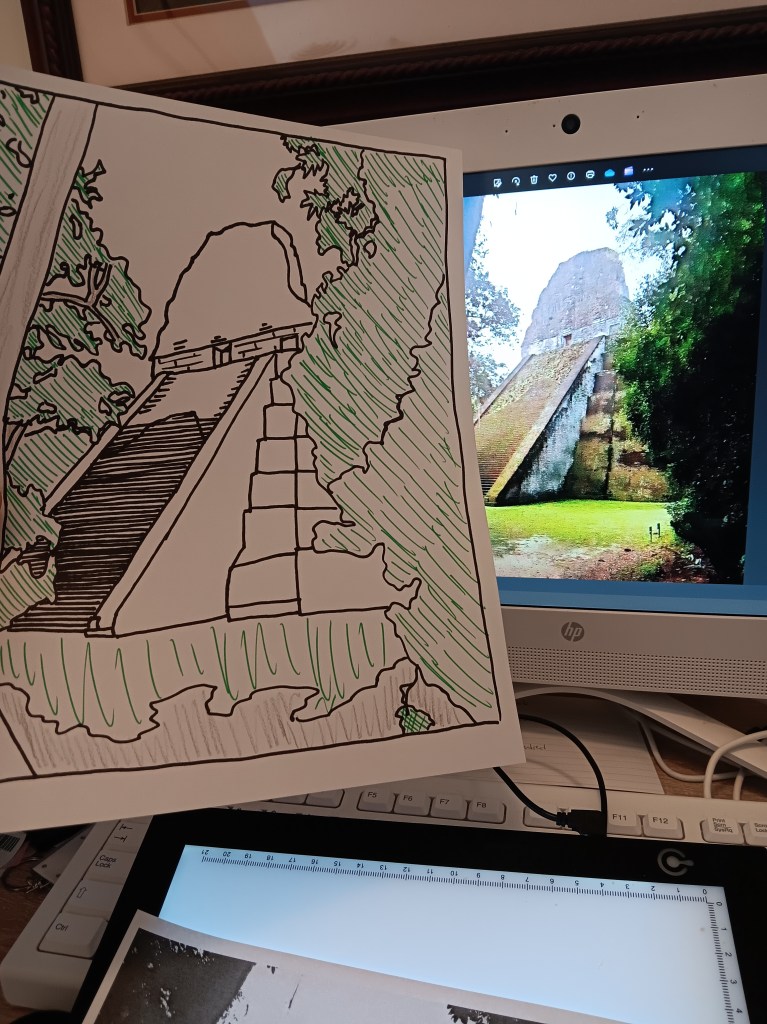
So I printed out the image in black and white (color makes it harder to see the lines), put it on my light pad and traced the parts I would eventually cut. Then I lightly colored the background for future reference.
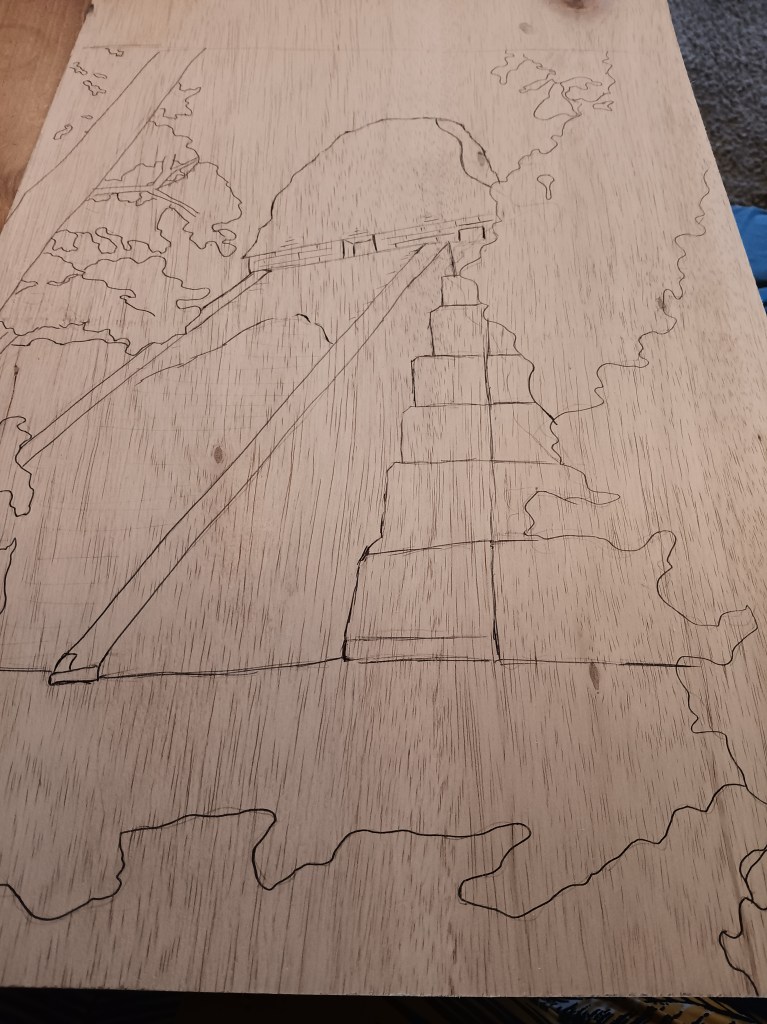
Then I can the image, put it on a flash drive and hook up the projector so I can make the image the size I want. I put the 1/8 inch birch sheet on an easel and trace my cut lines with pencil first. Then I go over them with pen away from the projector, as I look at the original image.

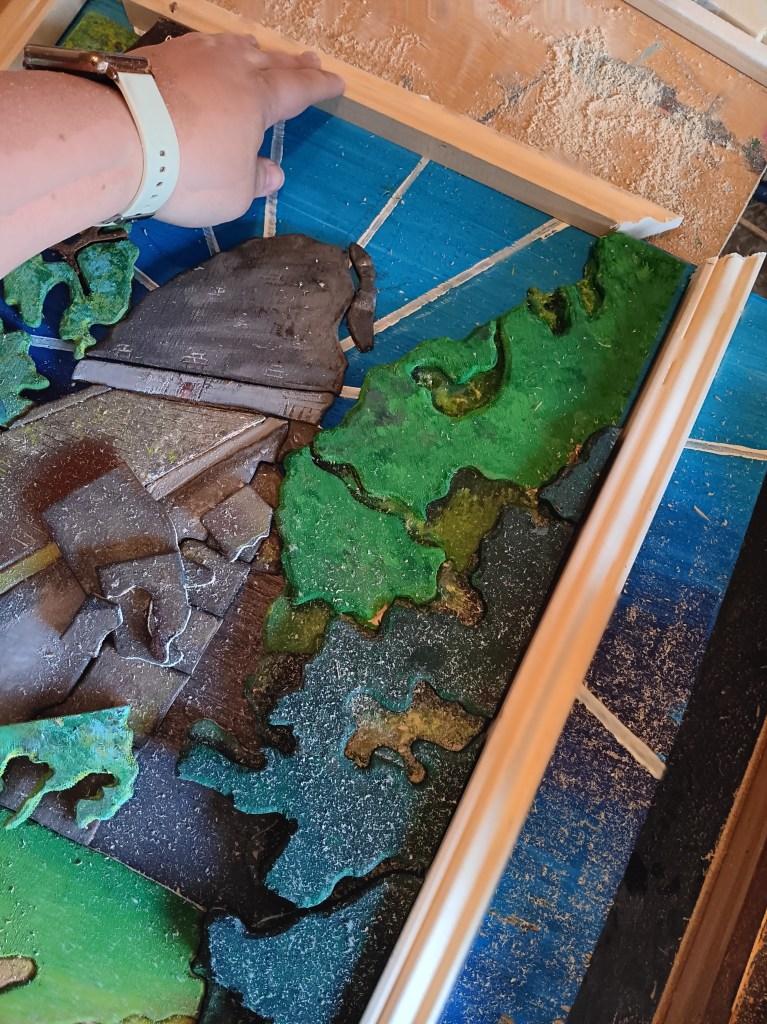
And then I cut each piece with my scroll saw. Honestly, the pieces weren’t that bad to cut. And there weren’t a ton of them.

And then sanded each piece with my Dremel rotary tool.
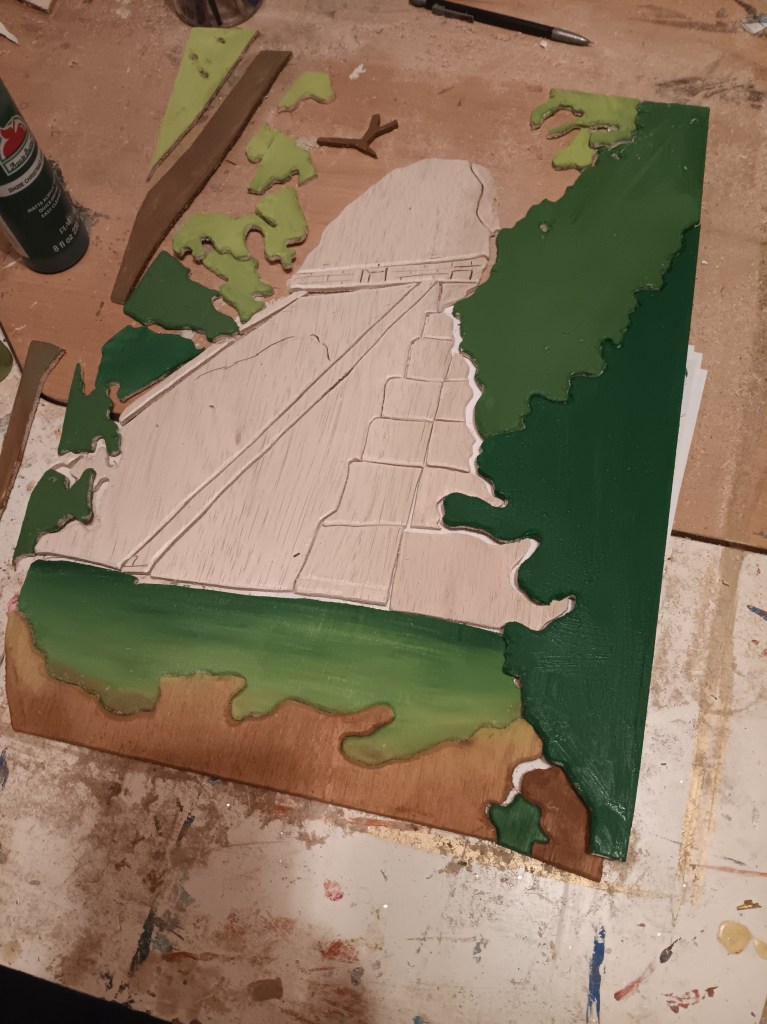
Then came my favorite part: painting. I wanted to do the trees various shades of green, since the Guatemalan jungle has a tons of tree varieties.
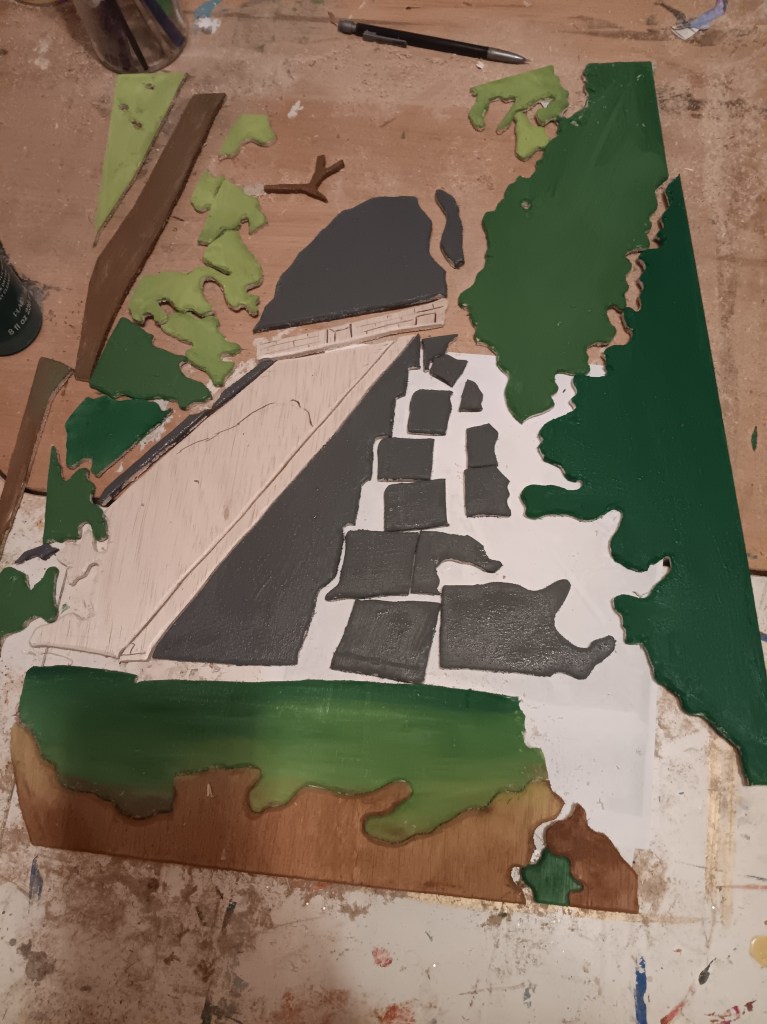
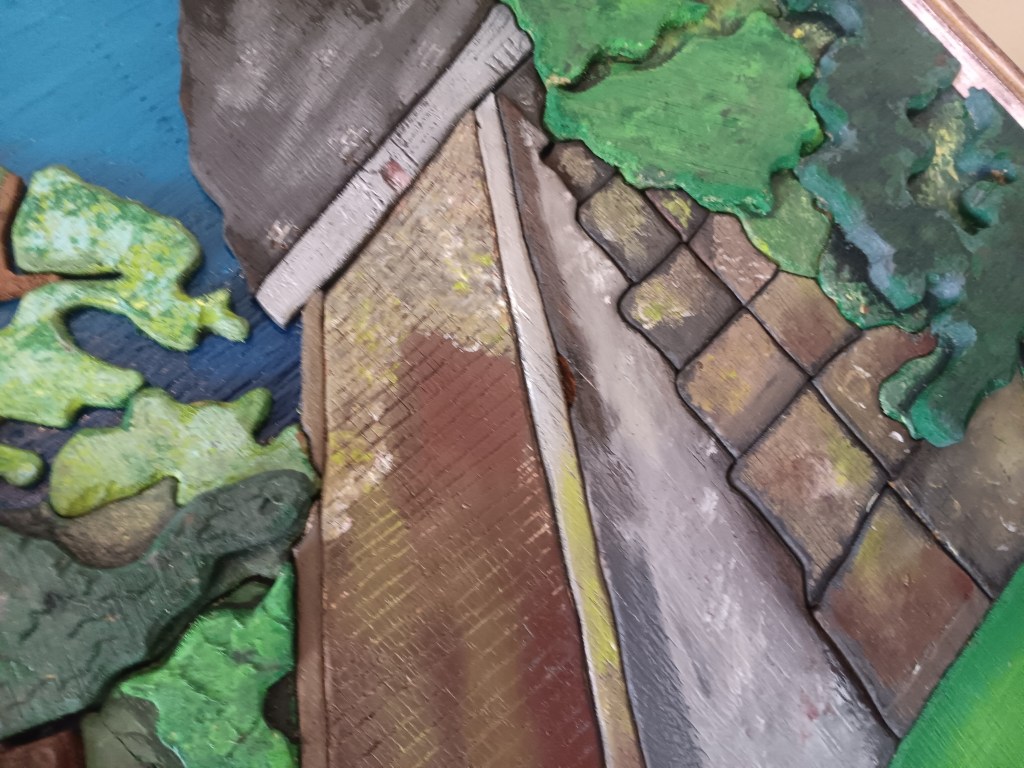
Then I started on the temple itself, know that it would need the greatest care.

I wanted to reuse a technique I had tried on my 3 Nephi piece, which is torching the wood after it has already been painted. It makes the paint look irregular and the pieces more weathered – which is exactly what I wanted! I also tried to make steps, but I couldn’t get them close enough together, so I scrapped that idea.
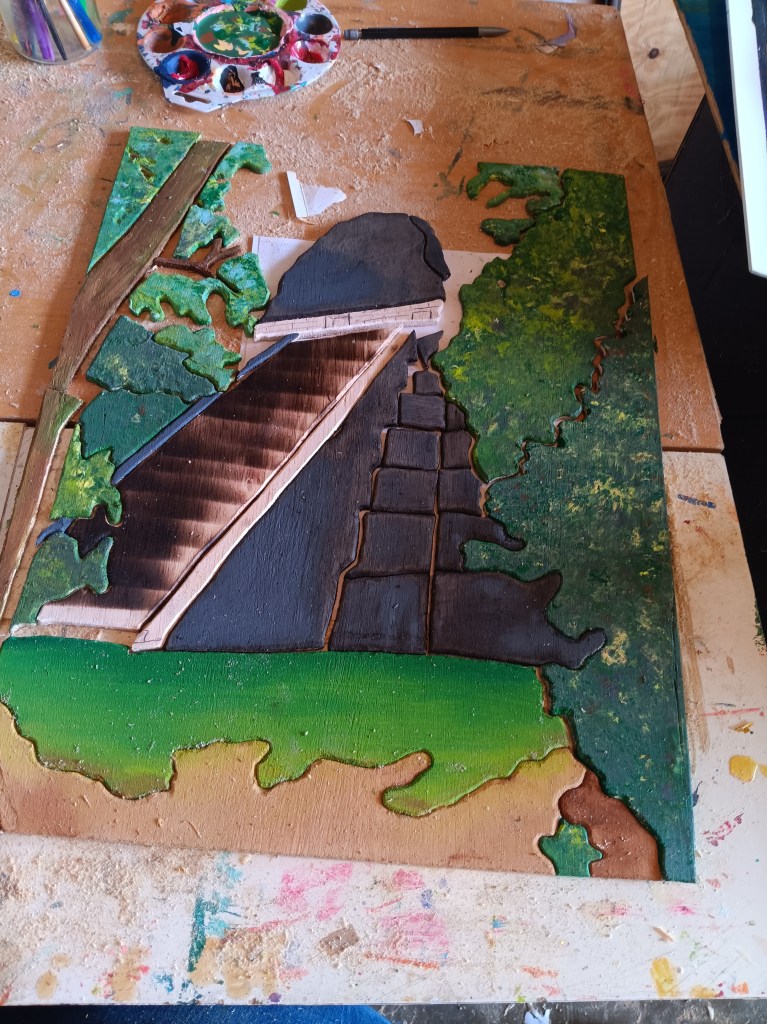
The technique worked! I love the effect that fire has on painted wood!

Again using my Dremel, I instead carved the stairs and doors at the top of the temple, then painted them and carved again.

Then came the real work: discoloration and weathering. For this I like to have the image on my phone so I can zoom in and she the gradations of color for the different parts of the structure.
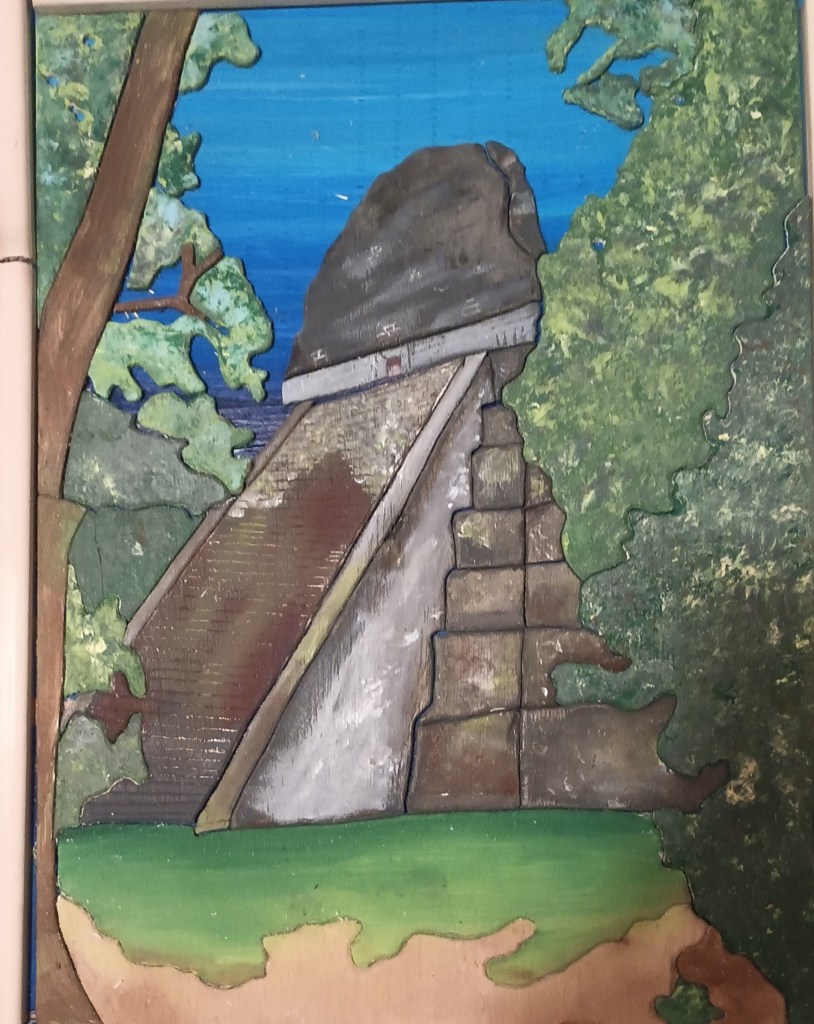
I painted a backing for it, and at this point could have totally called it finished. But I didn’t feel like it was.
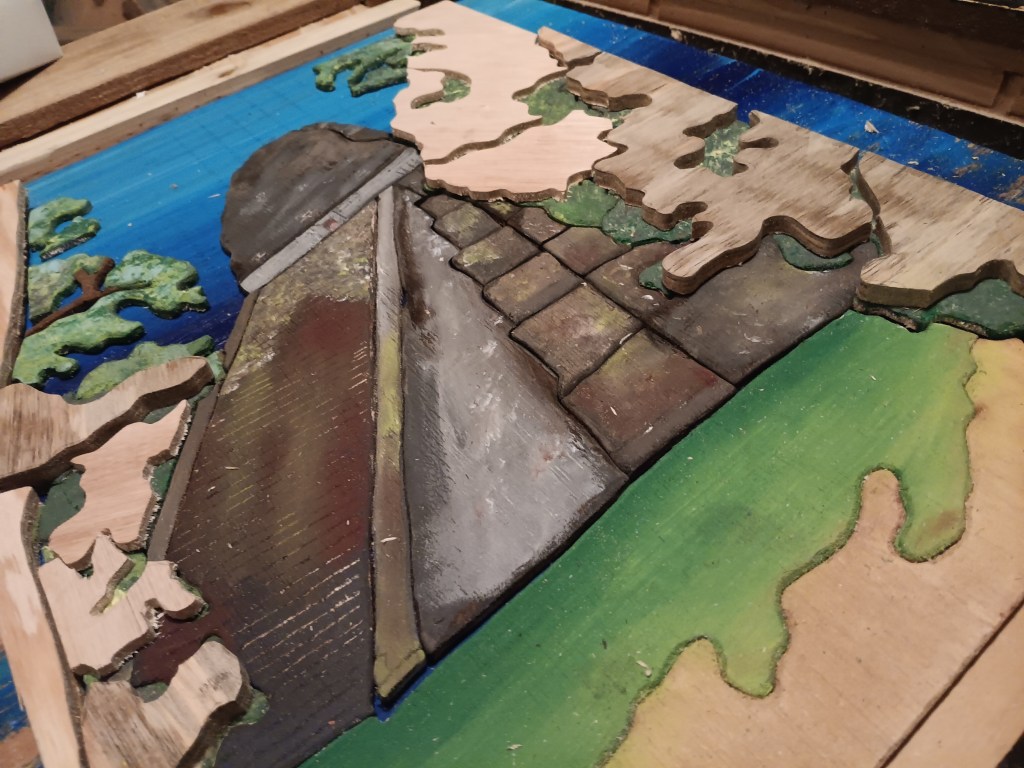
I wanted to add some more depth to the piece and really showcase the fact that this temple is totally hidden in the jungle. So I cut some more tree shapes from various pieces of wood.
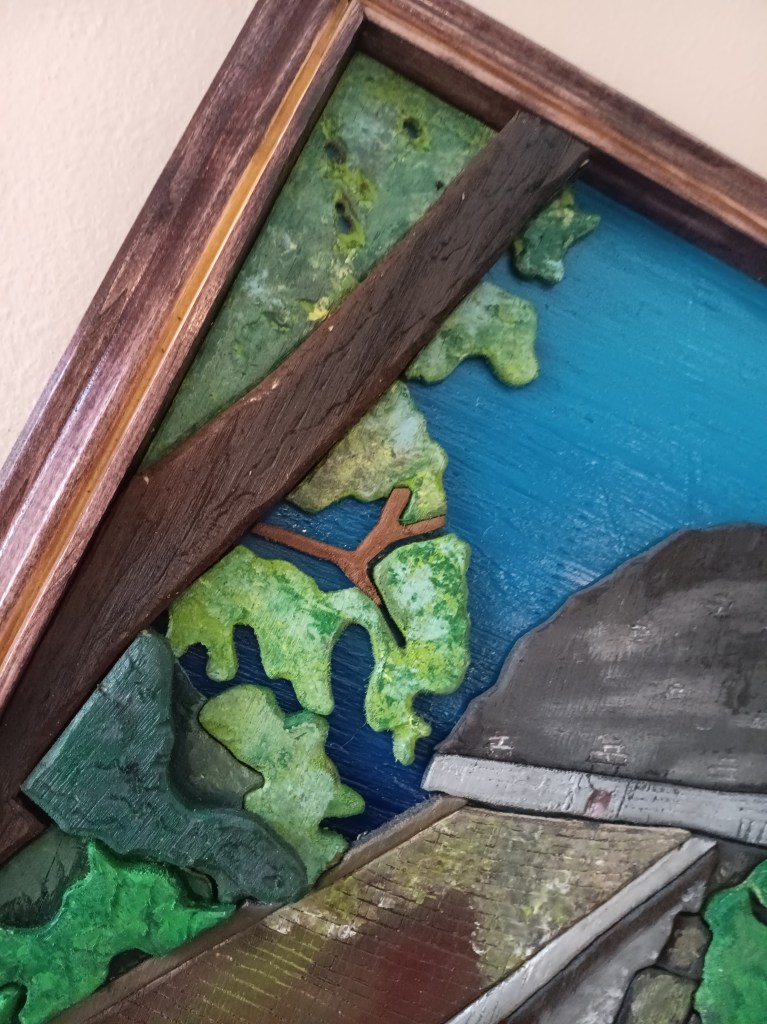
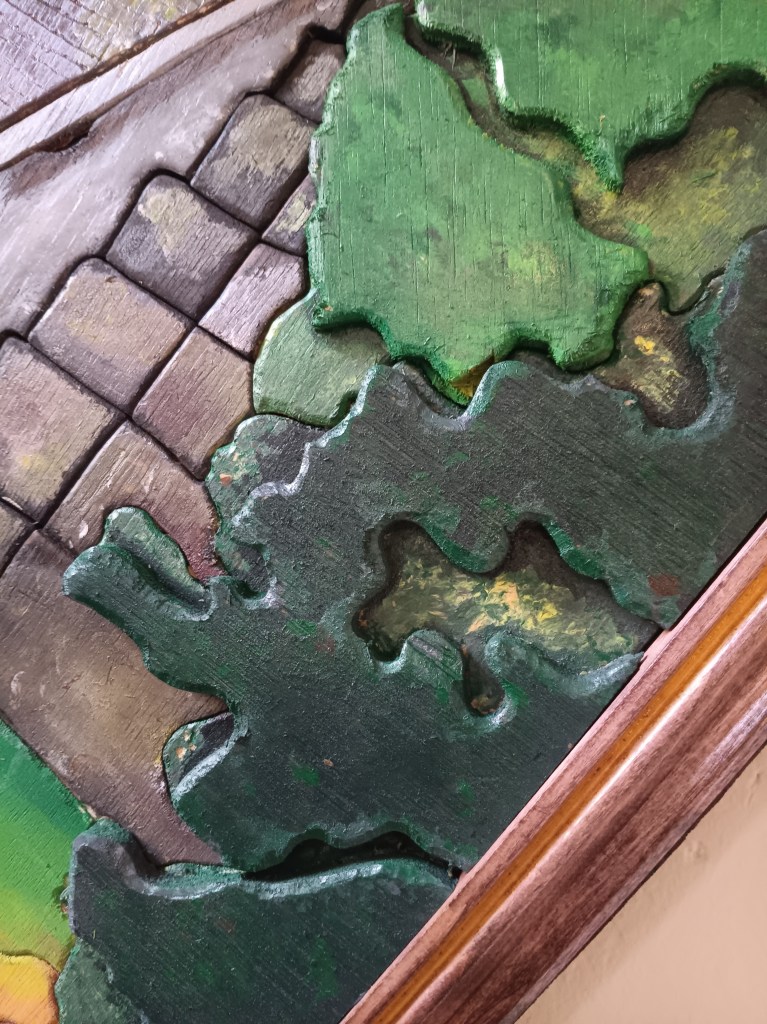
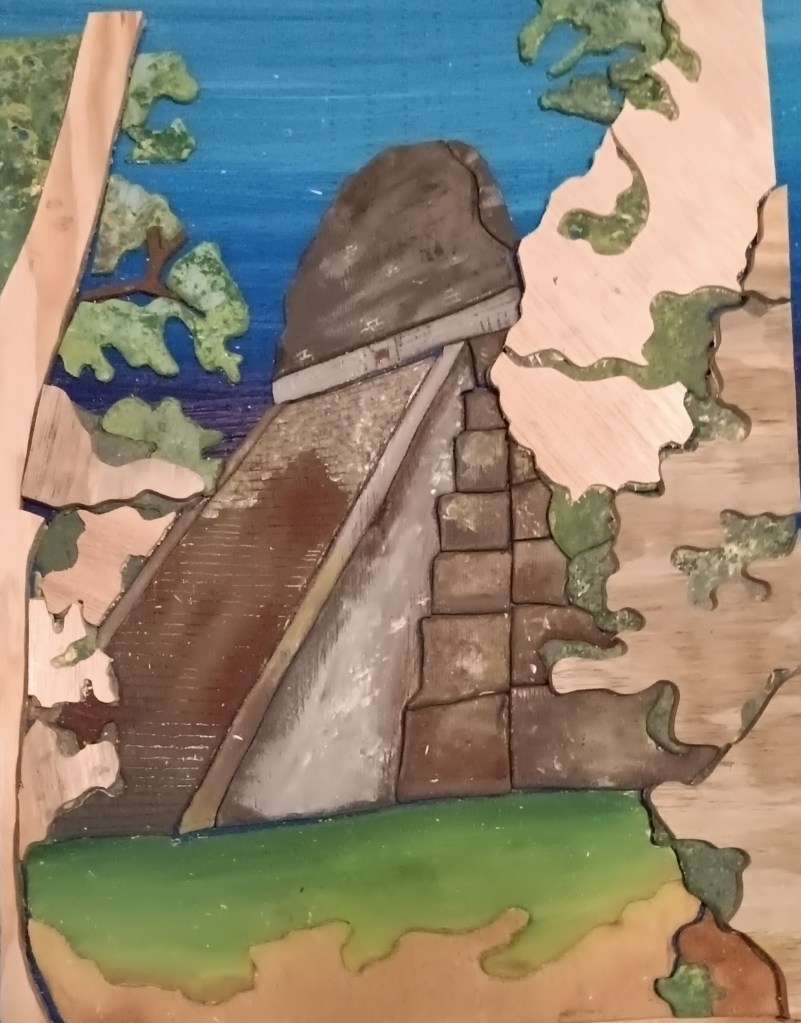
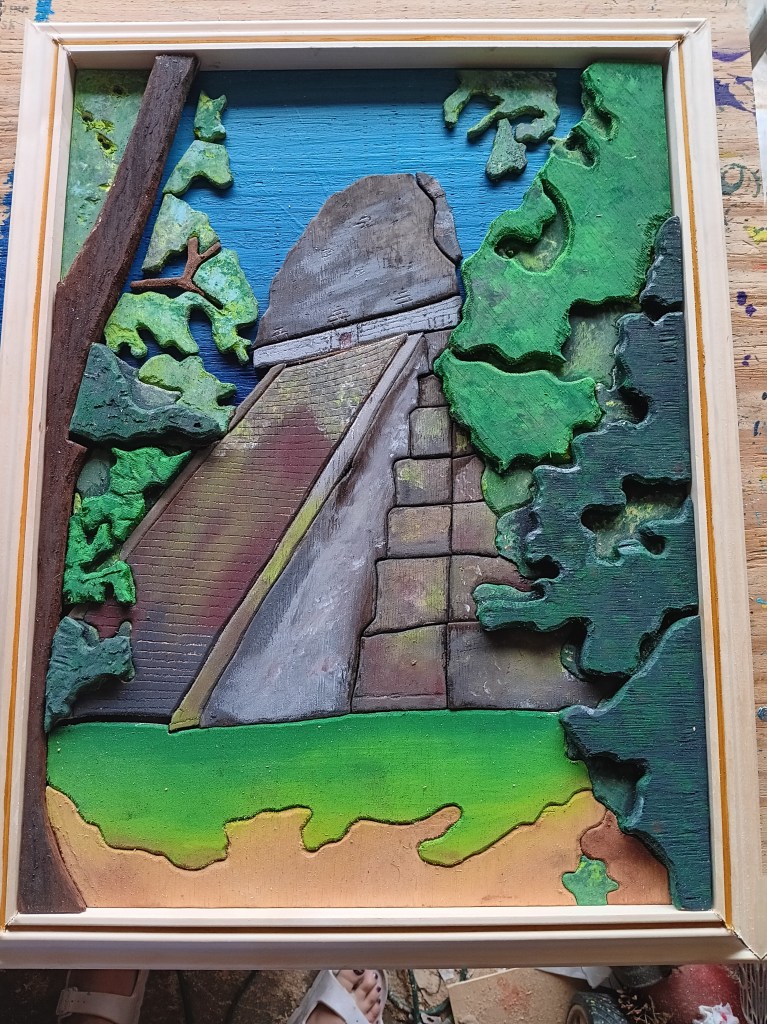
After a few coats of paint, I was happy with how it turned out.

I also wanted to try this idea I had seen of doing some rays of sunlight. But ultimately I didn’t like it, so I painted over it.
In making the frame, I really wanted something with geometric shapes carved into it, but nothing I found really worked with the image I had, So I finally settled on some framing pieces I already had on hand. Unfortunately I wasn’t paying close enough attention and mitered the corners the wrong direction, and when I tried to miter them again, the piece was too short. So, back to Lowe’s I went.
Finally, I was pleased with the frame I had made.

I painted a gold strip in the frame before staining it, and THEN glued it together. I find that if I stain it before gluing it makes the pieces look more even for some reason. Then I finished everything off with a coat of polyurethane.

And then I let it dry and cure for about a week until my husband’s birthday rolled around and I could finally give it to him! He loved it and none of the extra work I put into it was lost on him – the fact that it was a picture we took, how I managed to make wood look like stone, and he said he loves the frame even though he usually doesn’t notice frames! Definitely a win!
