
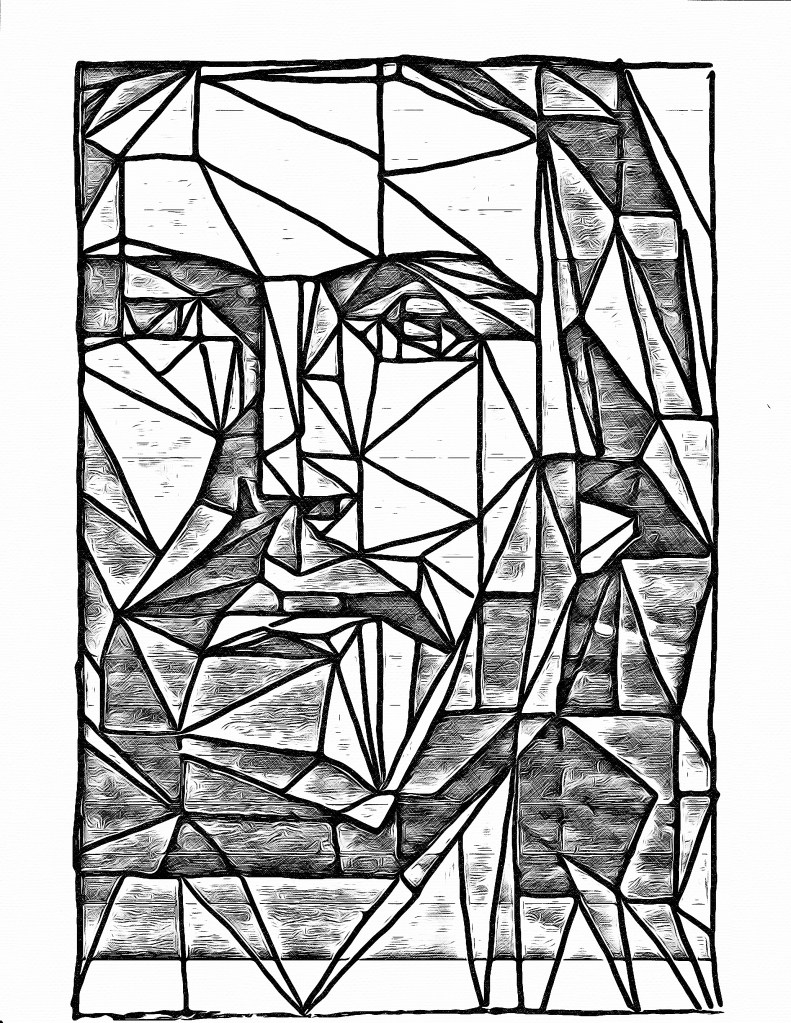
He is Jesus Christ
The Making of He is Jesus Christ
My favorite piece I have ever created
Cut from a solid piece of 1/4 inch birch wood and painted with acrylic paint

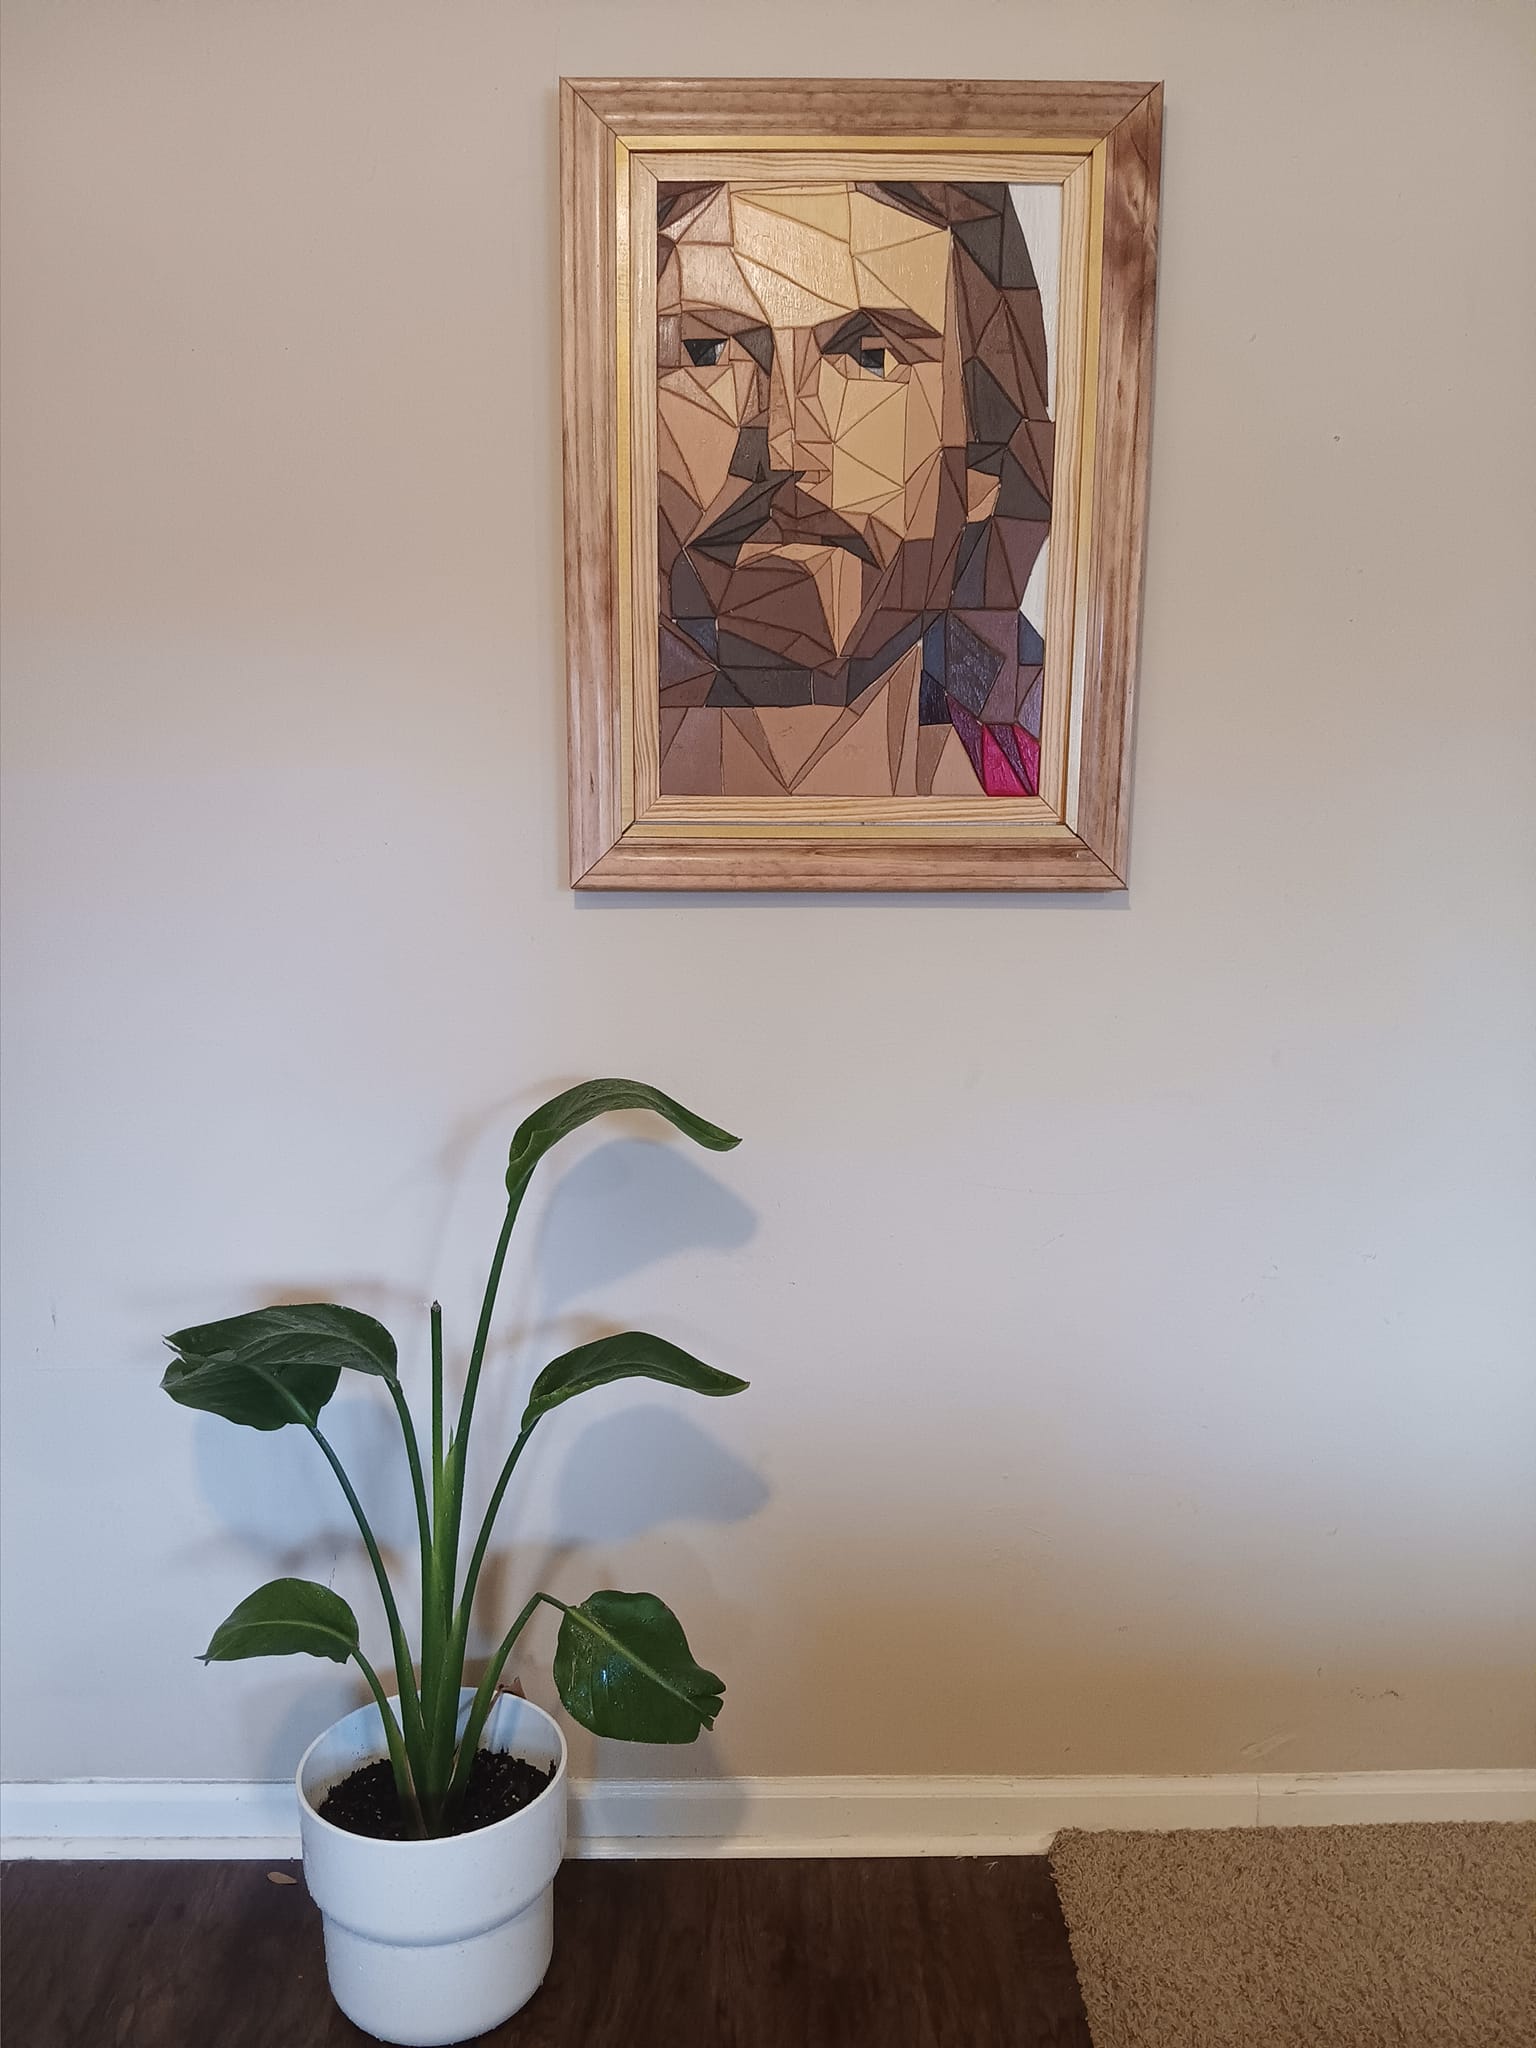
WHAT DO YOU FEEL WHEN YOU SEE HIM?
I love this piece so much. I loved working on it so much that it only took me a week to do (working 2-3 hours a day on it).
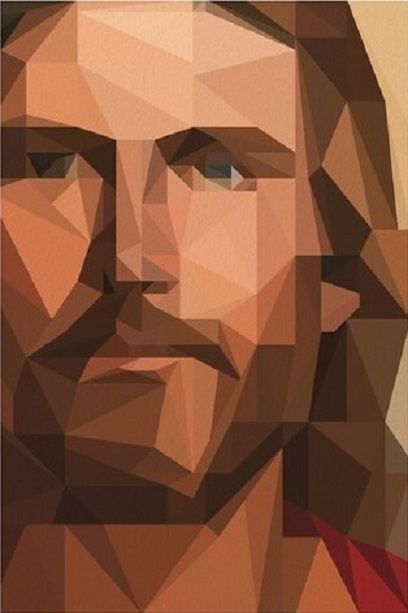
I originally saw this image on Pinterest and it caught my eye. Lots of pieces catch my eye – especially images of Christ. So I saved it. But it kept coming back to my mind, so I knew I needed to make it for myself.

Then I got to work on a pattern. I wanted to make sure I didn’t miss any triangles, but any way I edited the image, some of them were lost. So I printed out the image, placed it on my light table, and traced each triangle by hand with a permanent marker.

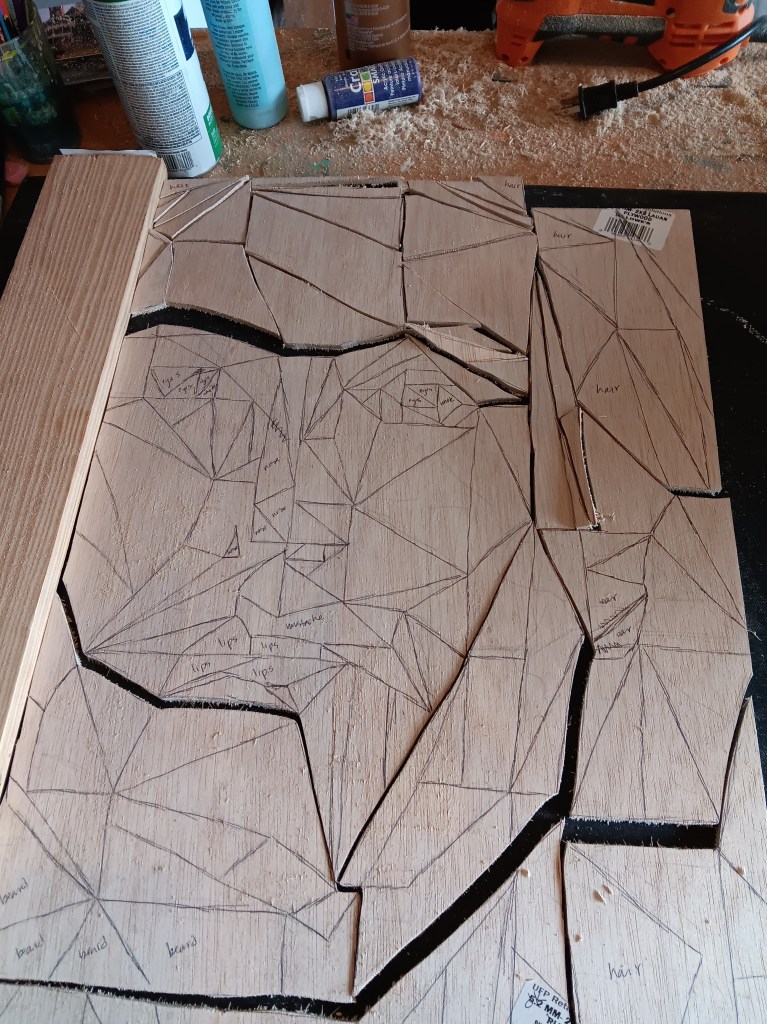
I bumped up the contrast on the computer after scanning it, so that the lines would pop more. Then I set up my projector and traced the image onto 1/4 inch birch wood.
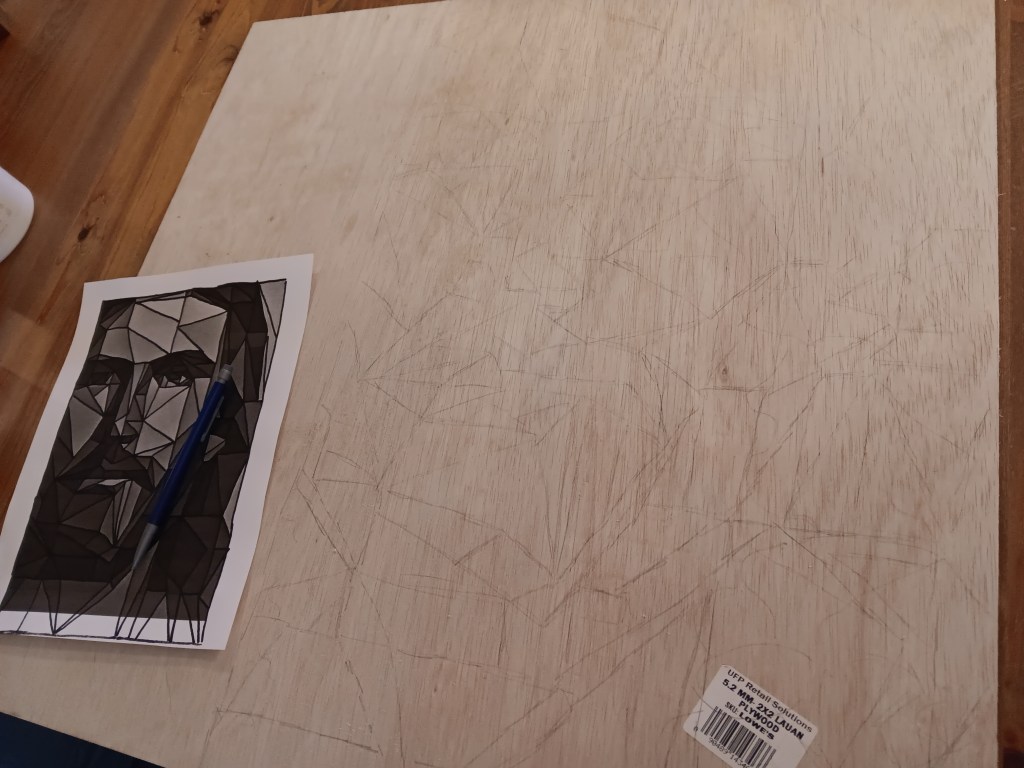
At this point I usually sit with the drawing next to me and trace over the lines again. This ensures I didn’t miss any with the projector, but also allows me to darken the lines so they are easier to see when cutting.
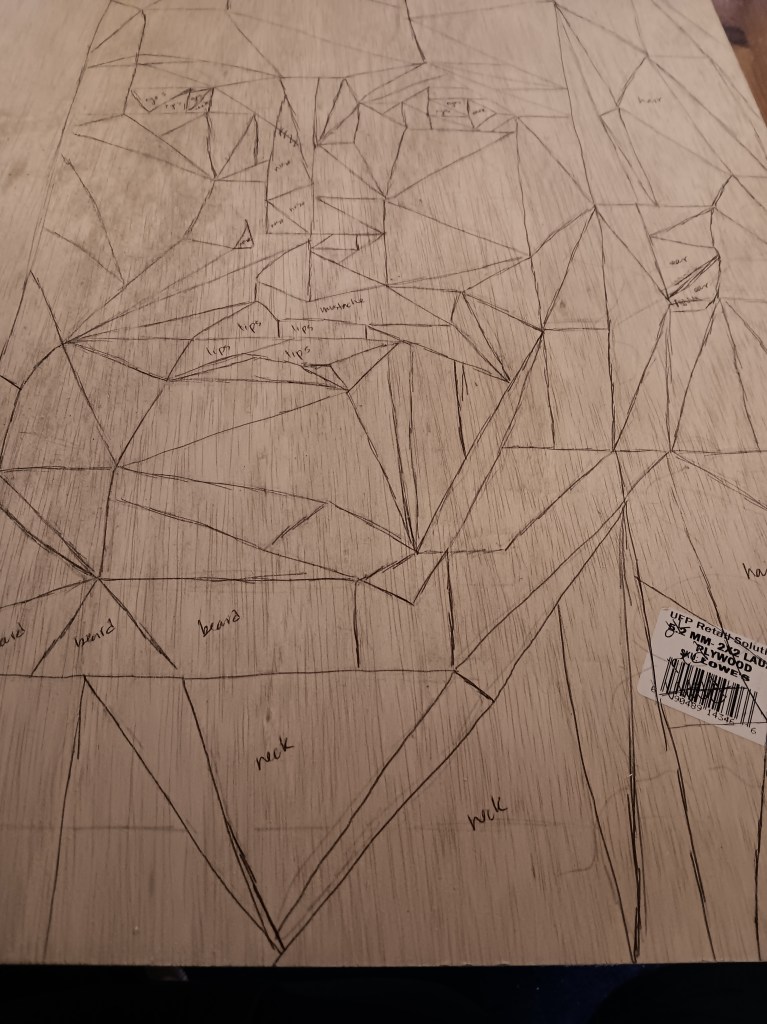
And then I end up with something like this. The lines are drawn with pen, yes, but that is easy enough to sand off.
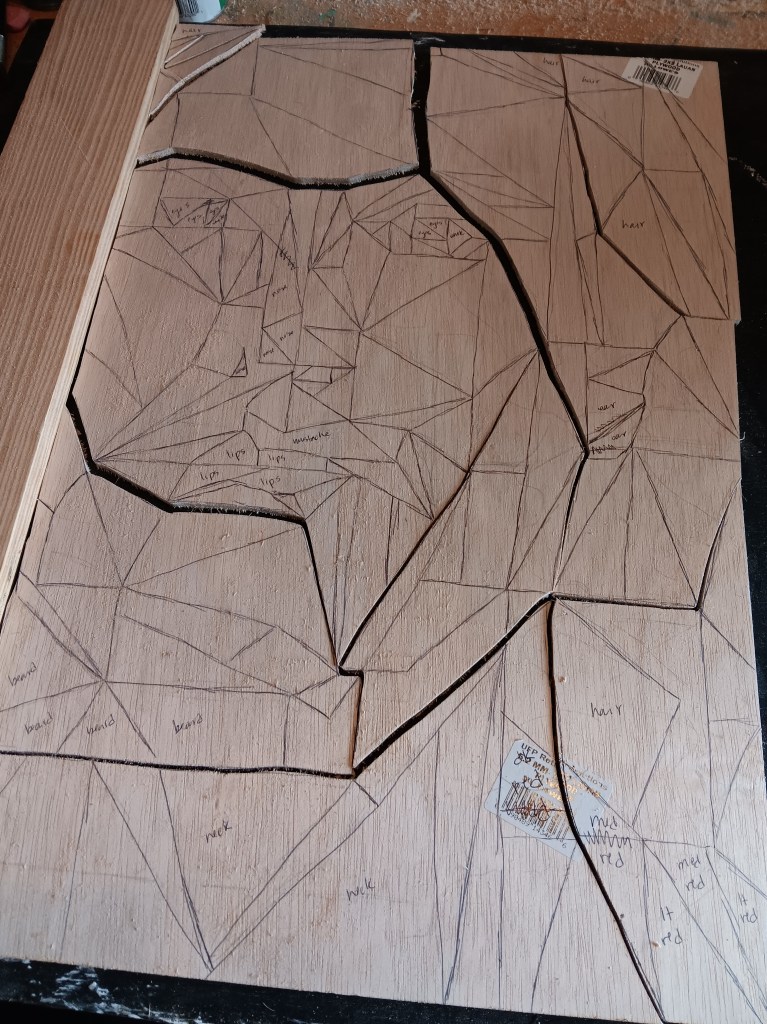
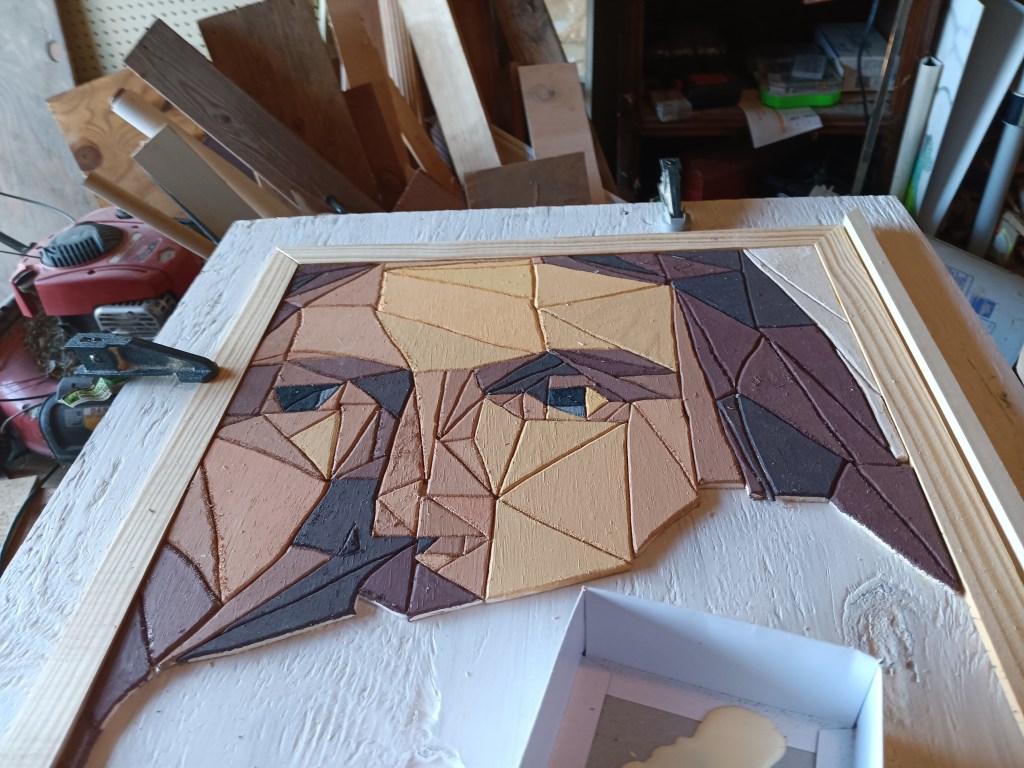
Then I took the wood to my scroll saw and cut it into smaller pieces so it would be easier to work with. The cut image is 24 x 16 inches.
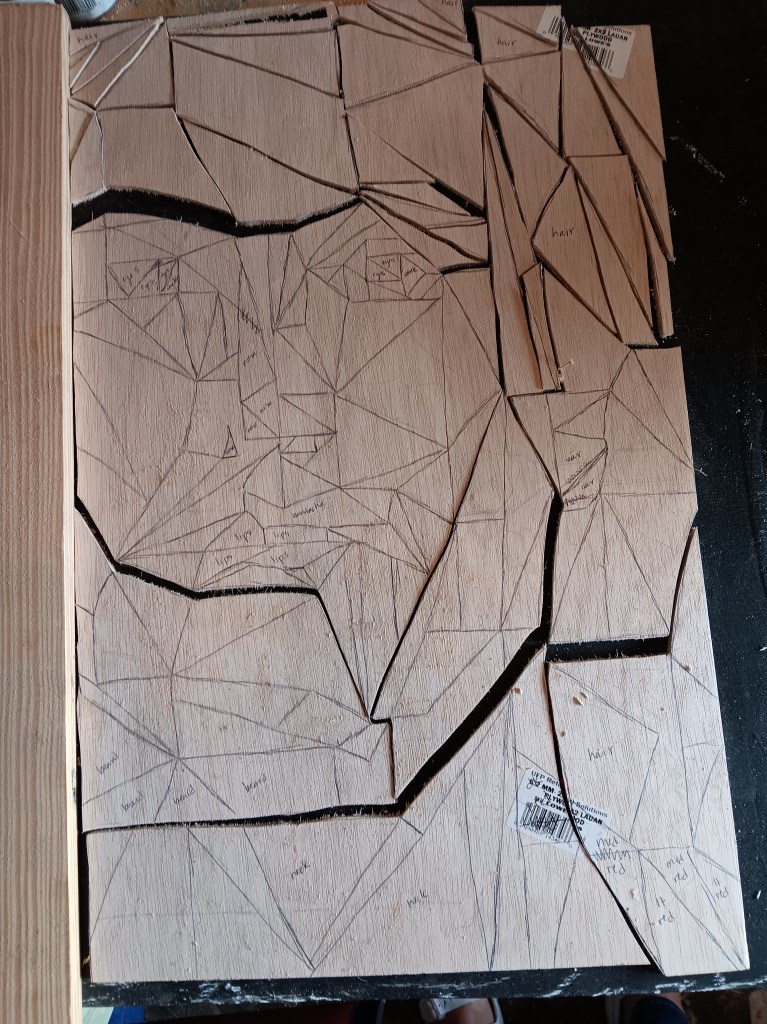
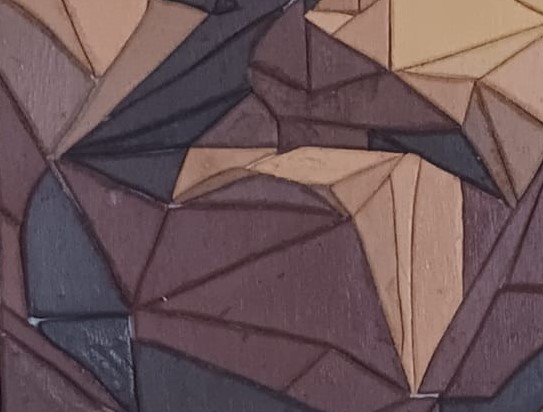
Then comes the real scroll work, where I begin to cut each individual triangle. Straight lines are actually incredibly difficult, so this took quite some time.

I chose to do the face last since I knew that would require the most precision.
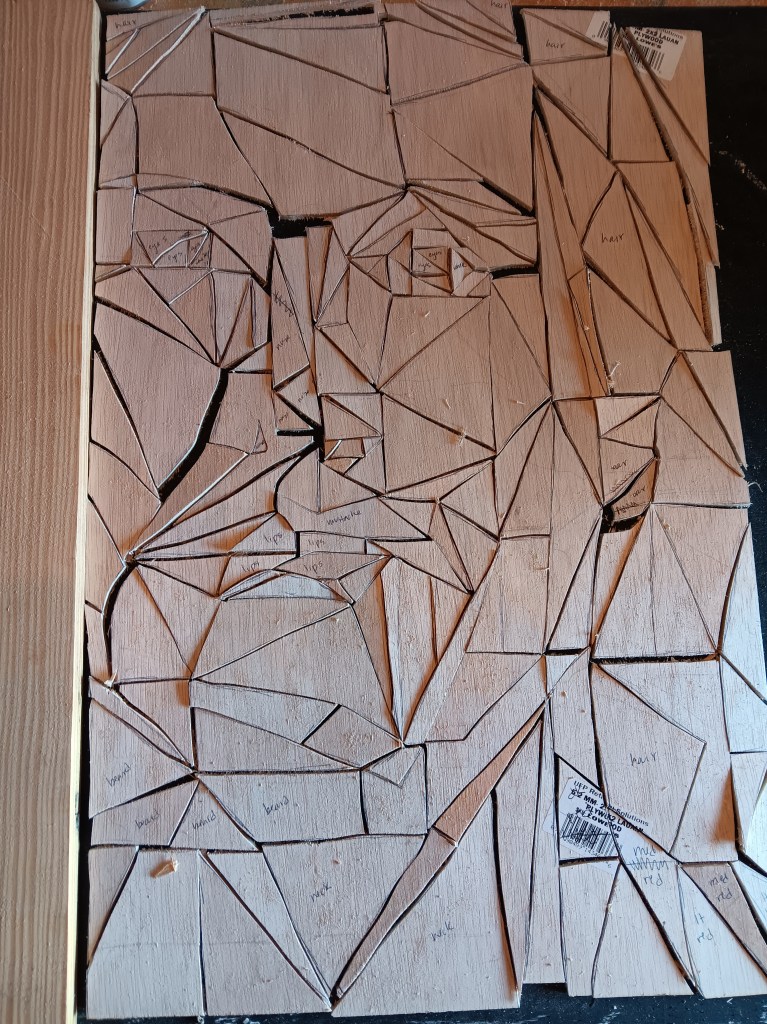
The cutting of the whole project took probably 3 hours over 2 days. Many of the lines are not exactly straight, but when all of them are lined up, only I can tell.
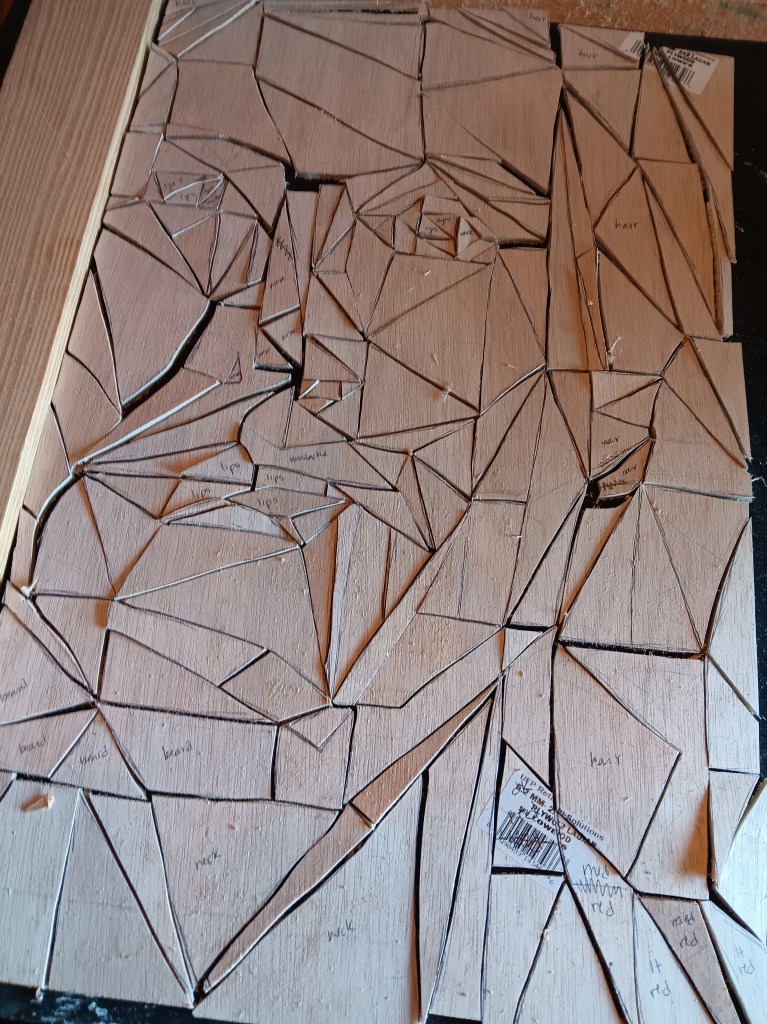
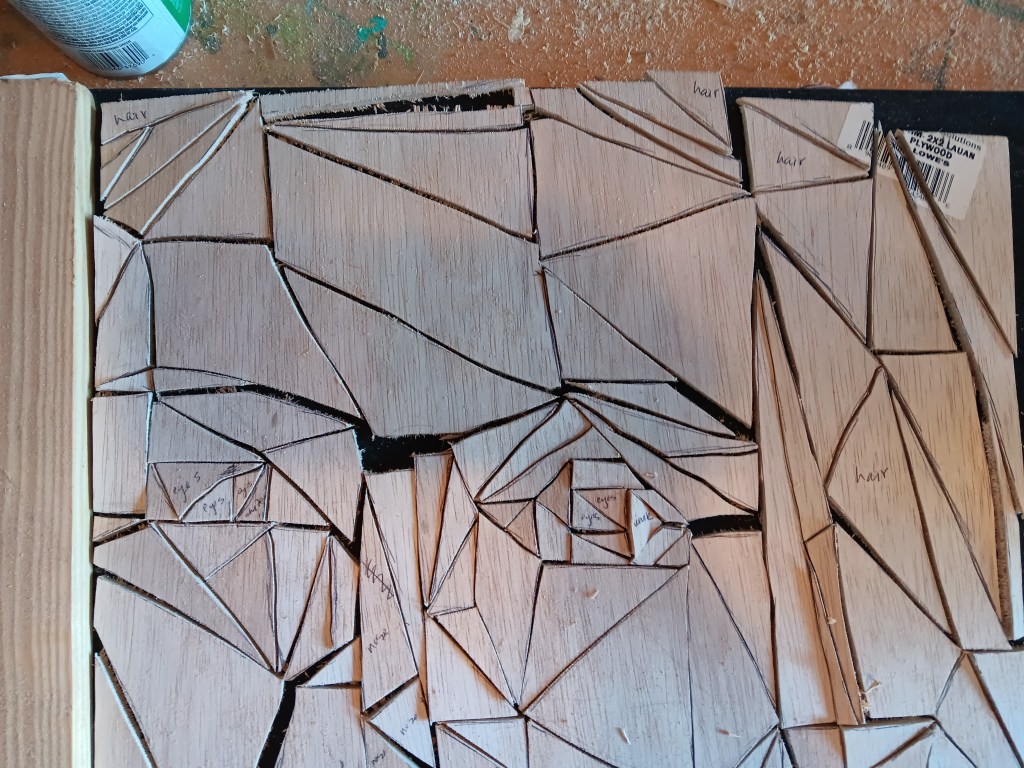
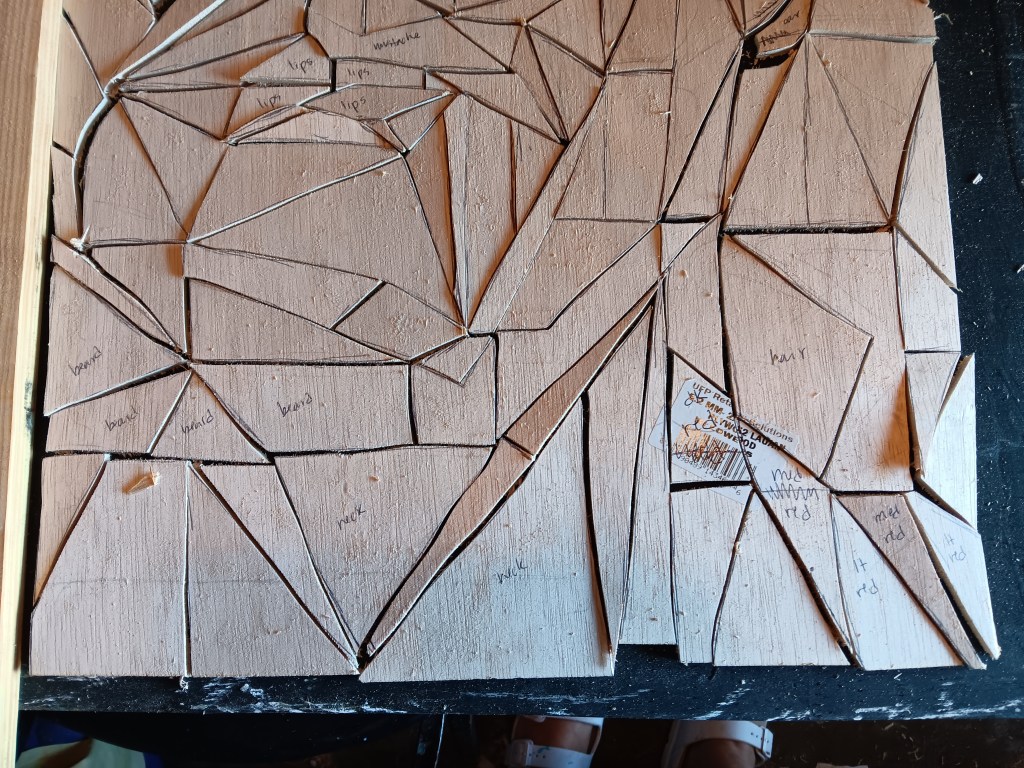
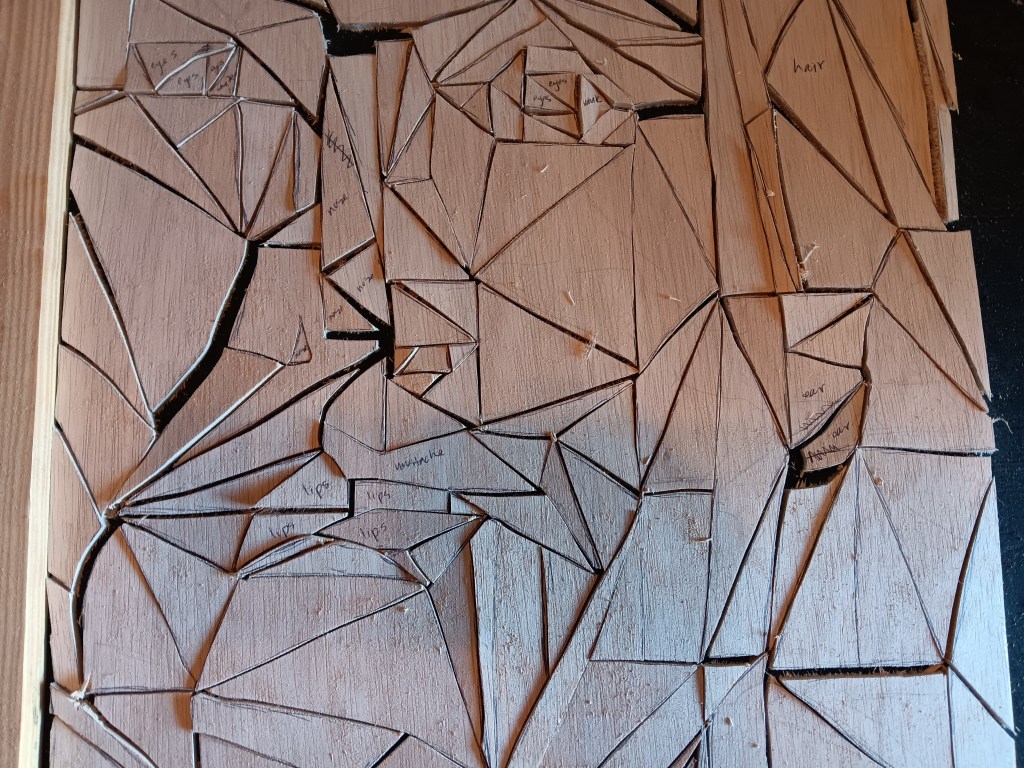
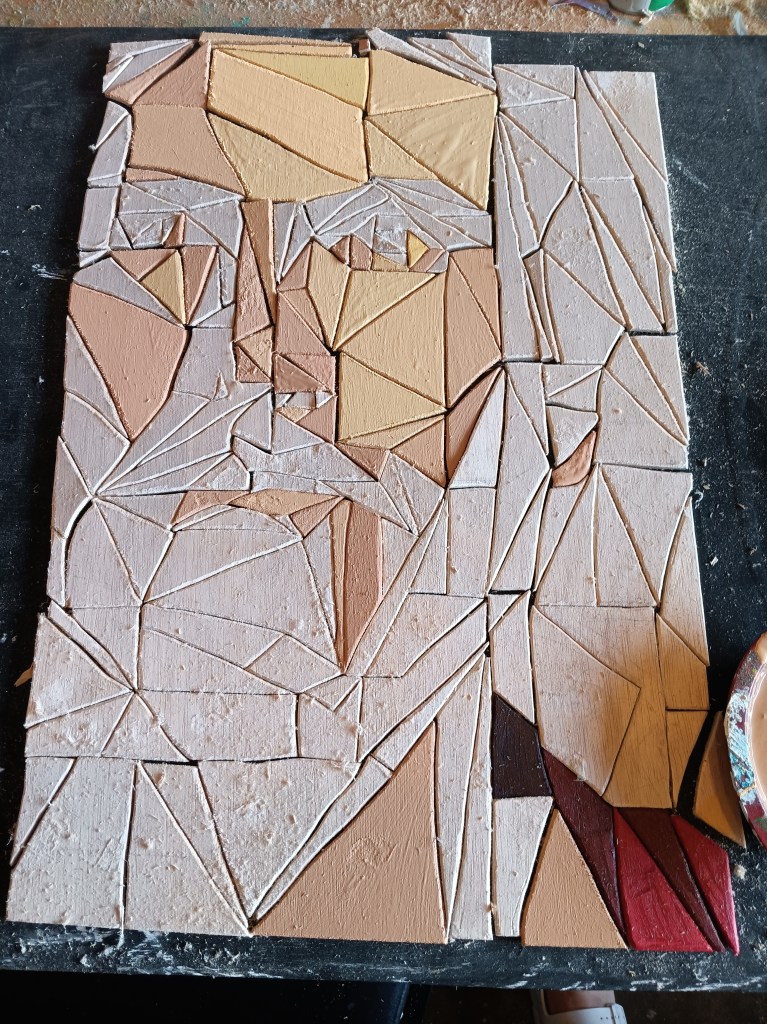
I make sure I take lots of pictures once everything is cut, so that I won’t have trouble putting it back together as I paint. I referred back to these pictures several times during the process.
And then I began sanding. And sanded and sanded and sanded. Sanding took about twice as long as cutting. I sand each piece from and back to make sure there are no frayed edges – which is very important in getting pieces to fit correctly.
Inadvertently I always end up sanding my nails. Hence, why I don’t really bother with a manicure.
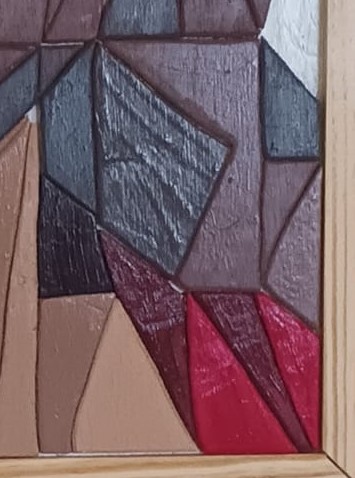
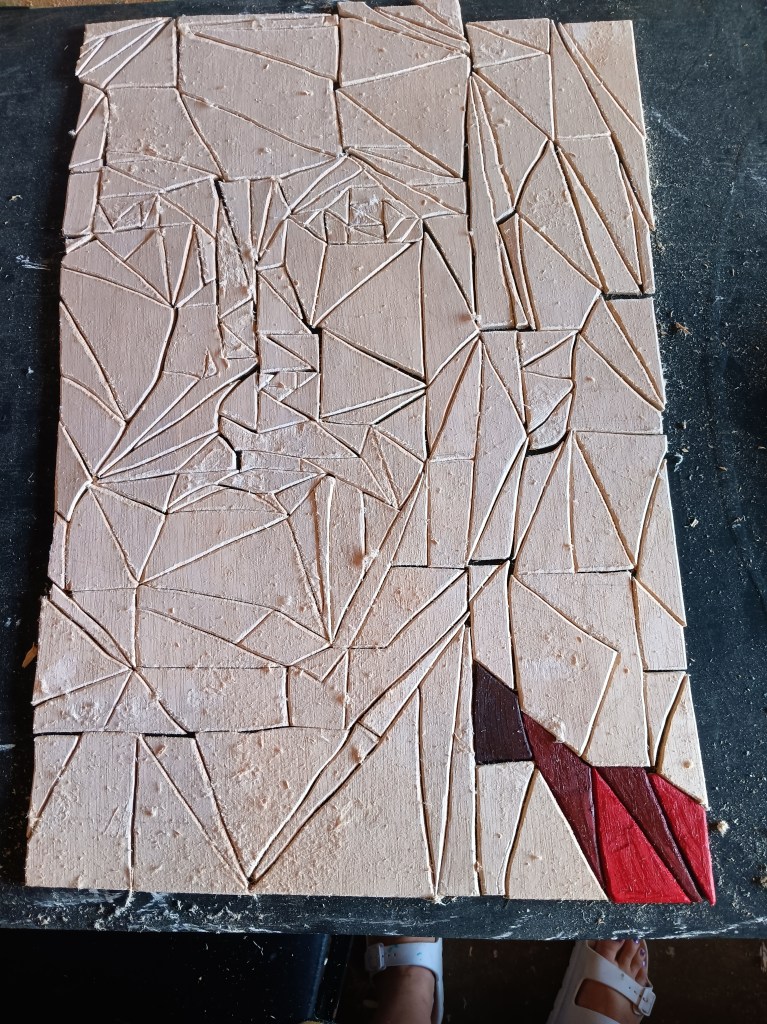
Sometimes when I get sick of sanding, I’ll reward myself by painting part of it. I started with his red robe because I knew I wouldn’t have to color match later.
I picked a red paint, then occupied 3 spots on my paint pallet with the red. To one I added a dot of black, to another I added a few drops of white, and the other I left for the medium tones.
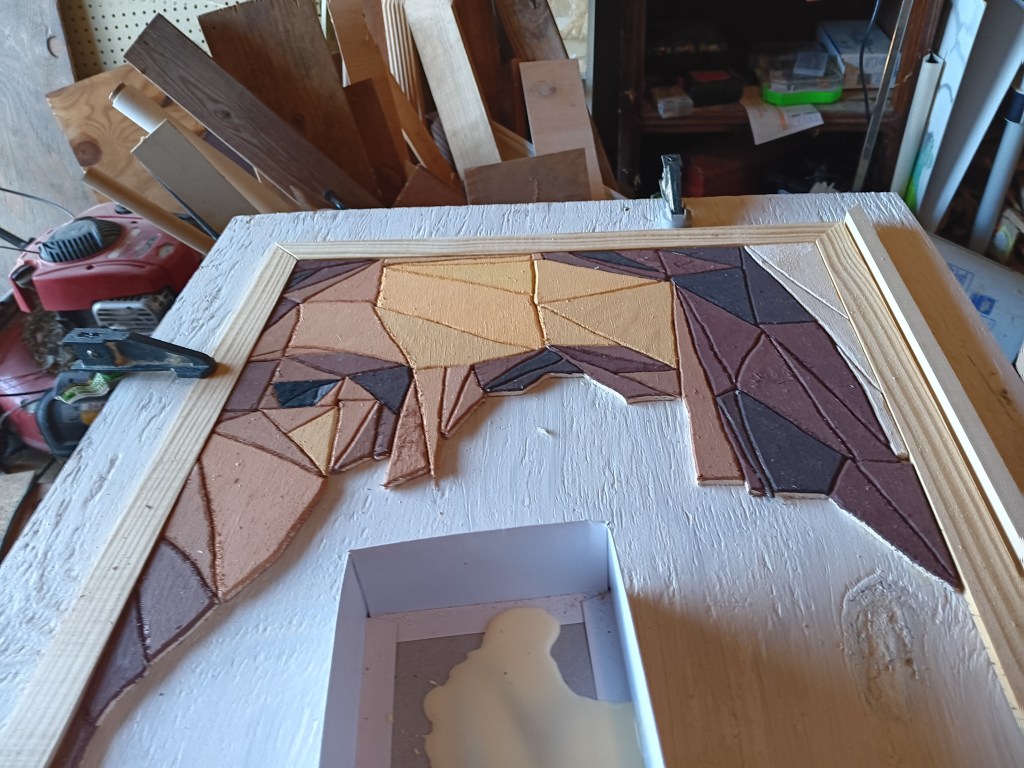
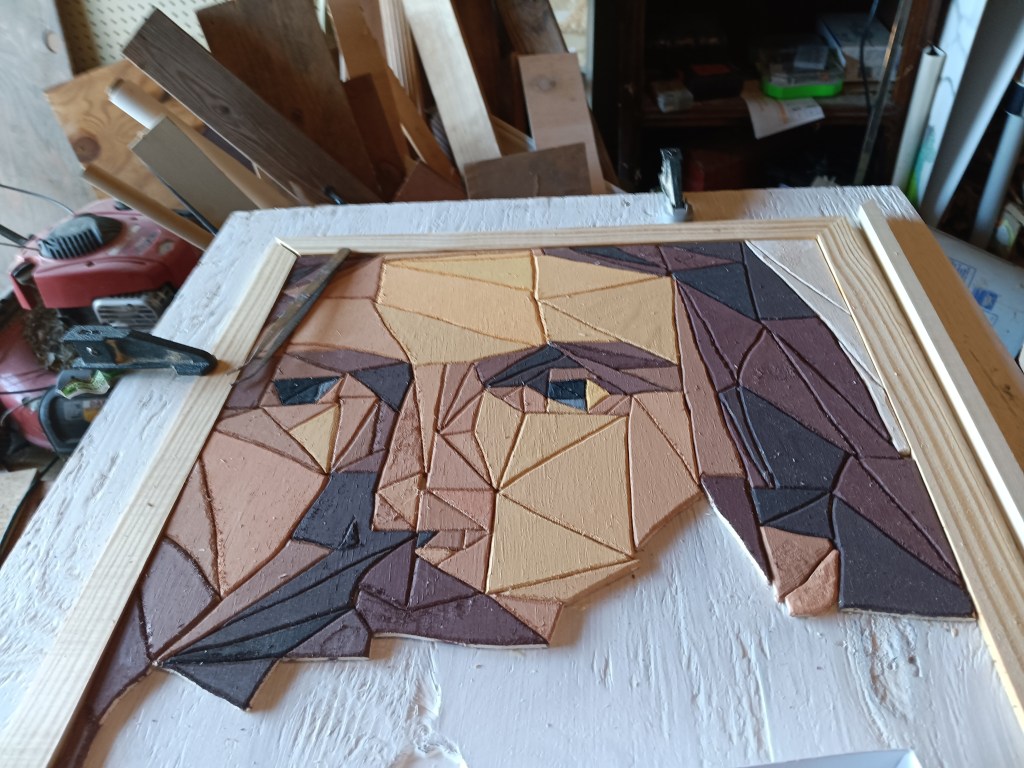
Then came the fun/hard part: painting all of the dozens of variations in skin color. I got a lot of questions on what colors of paint I used. Honestly, I had a lot of light orange left over from another project, so I started with that. I added some brown and white to it to make it look more like skin, and then I started with the very lightest tone on the face – the forehead. Following the original image VERY closely (I chose to have it on my phone so I could zoom in easily), I would add a dot of red for the next tone, make sure I painted every single piece that matched that color, then add a dot of brown and do the same thing.
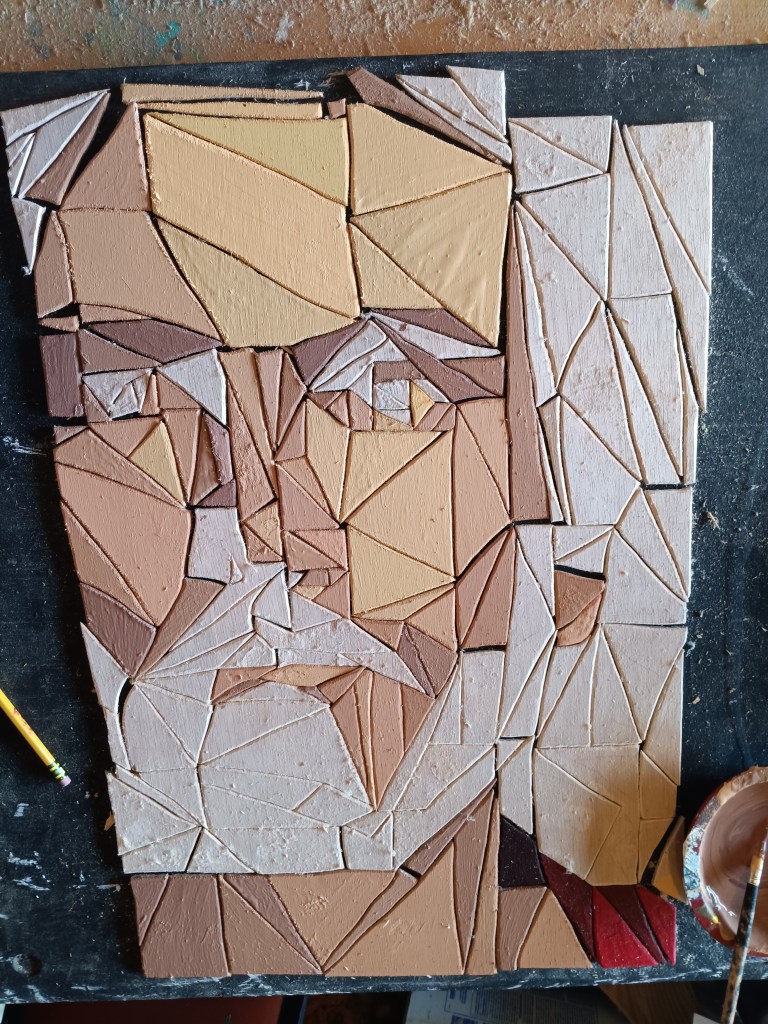
I kept this process (adding some red or some brown) for the entire face. I made sure to do the entire face within 24 hours so the paint wouldn’t dry out – making it nearly impossible to color match (especially in my poorly-lit garage).
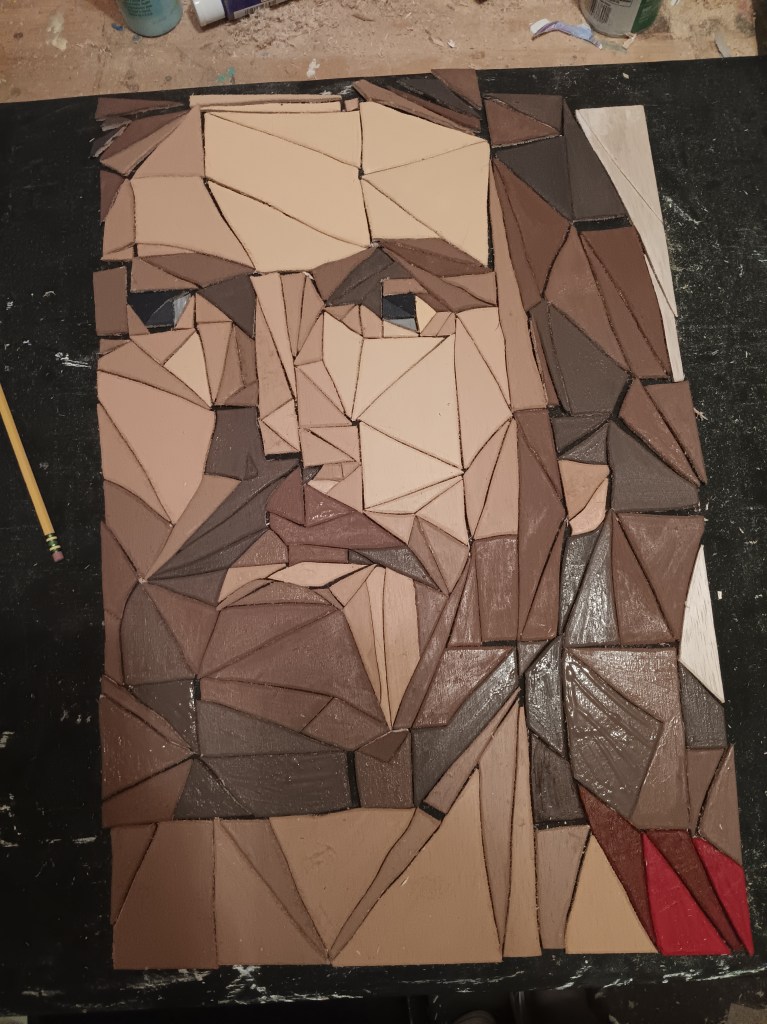
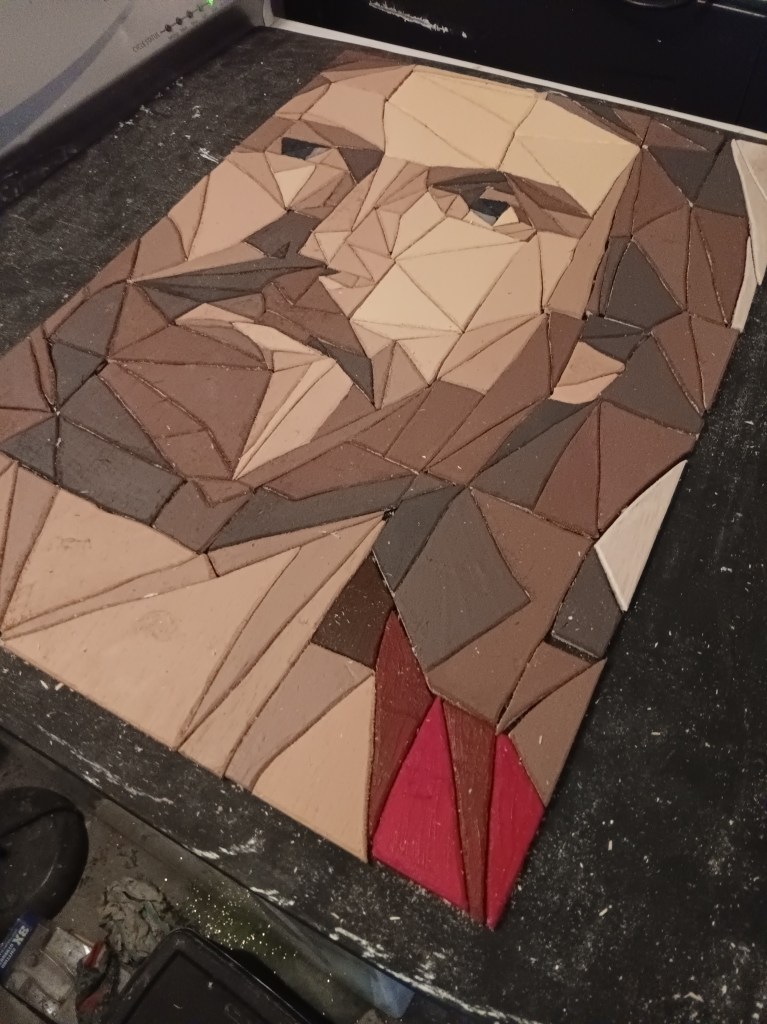
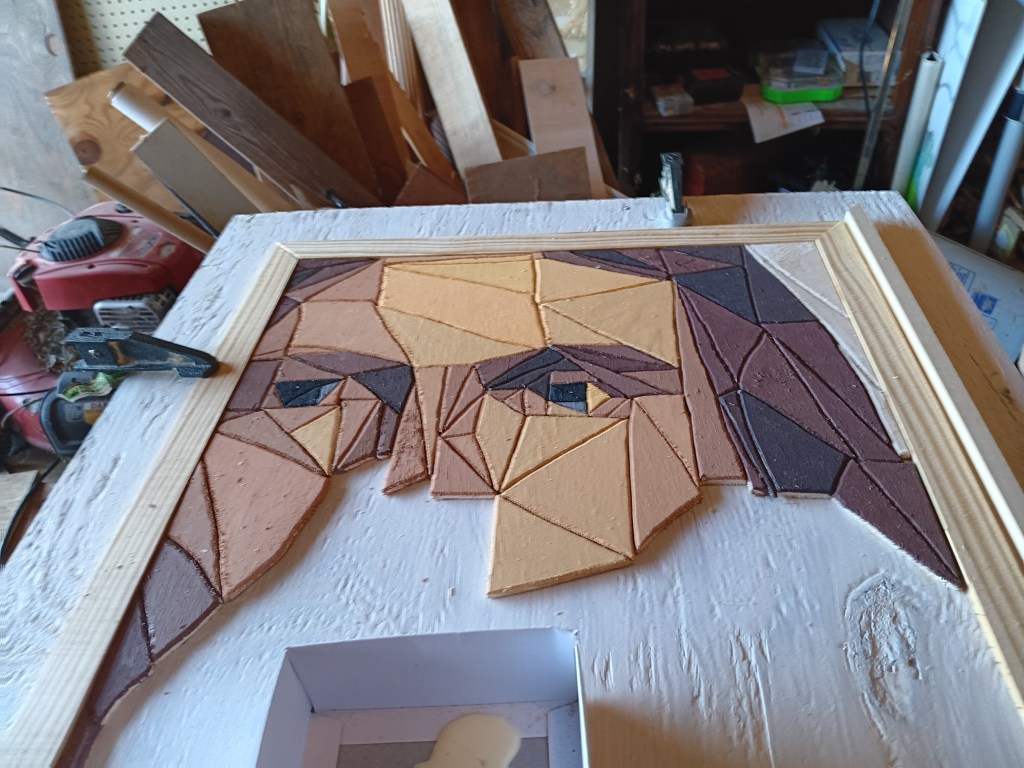
I used that same paint mixture and made it darker and darker, adding my brown and sometimes black for the hair and eventually the eyes. From the moment I finished painting the last piece, I was in love. It was truly my very best work.
I immediately told my husband he needed to see it. And as I was explaining the process, I even got a little emotional.
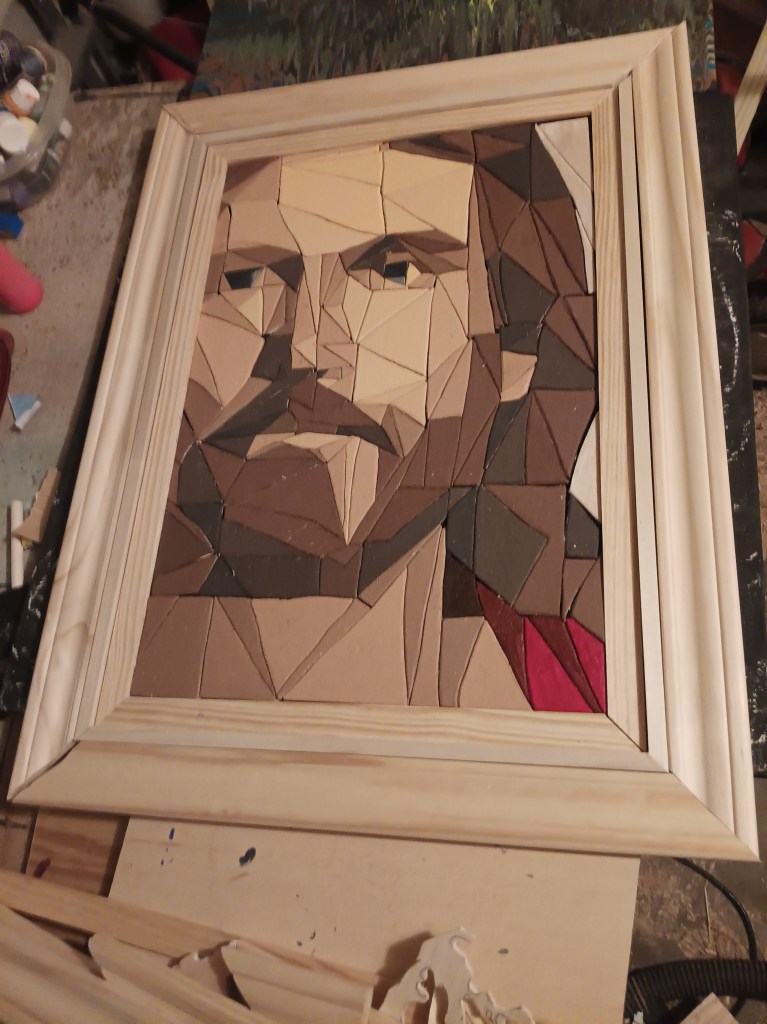
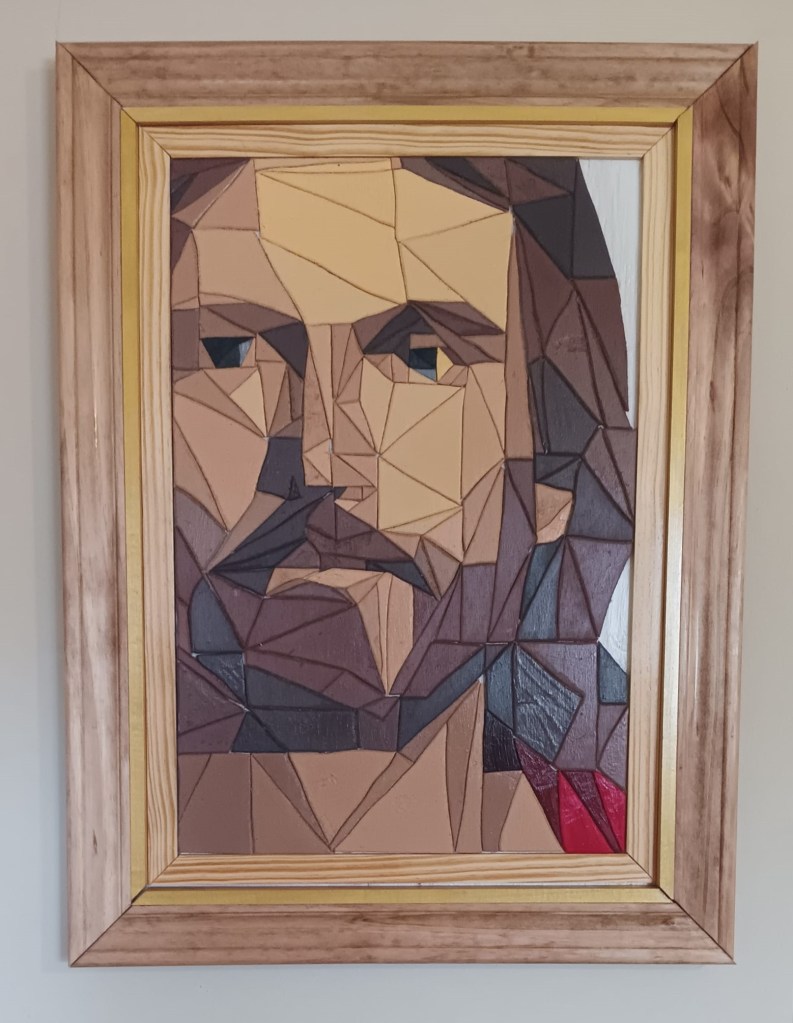
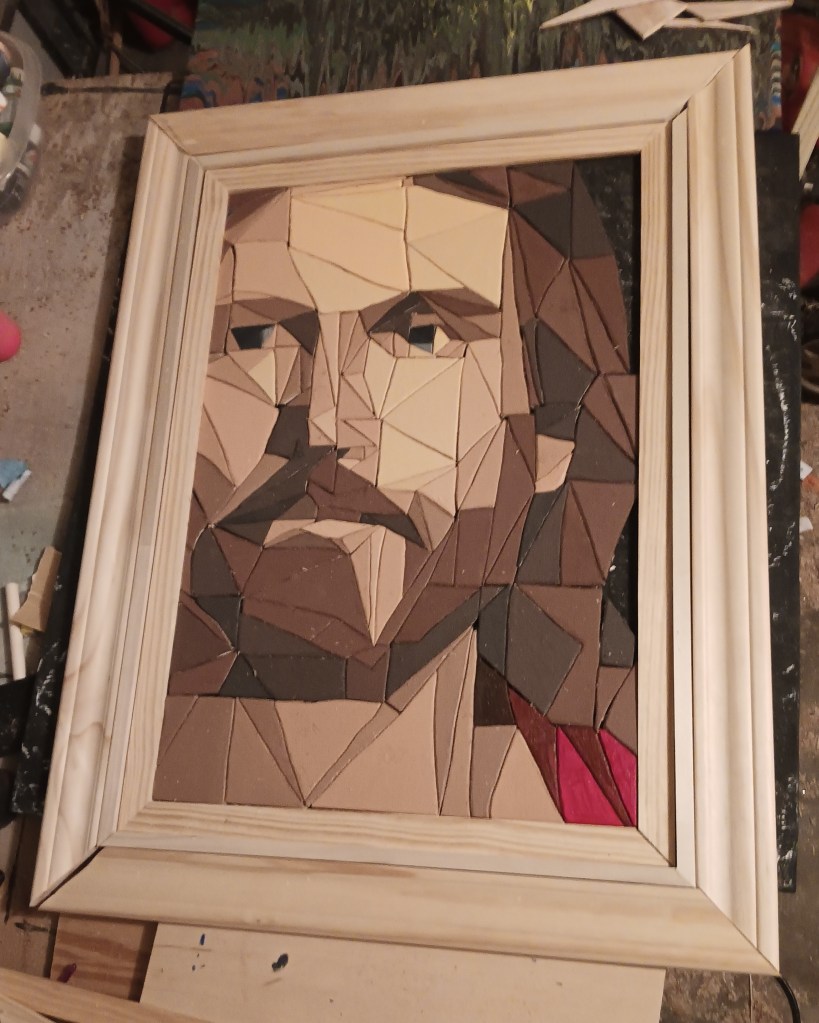
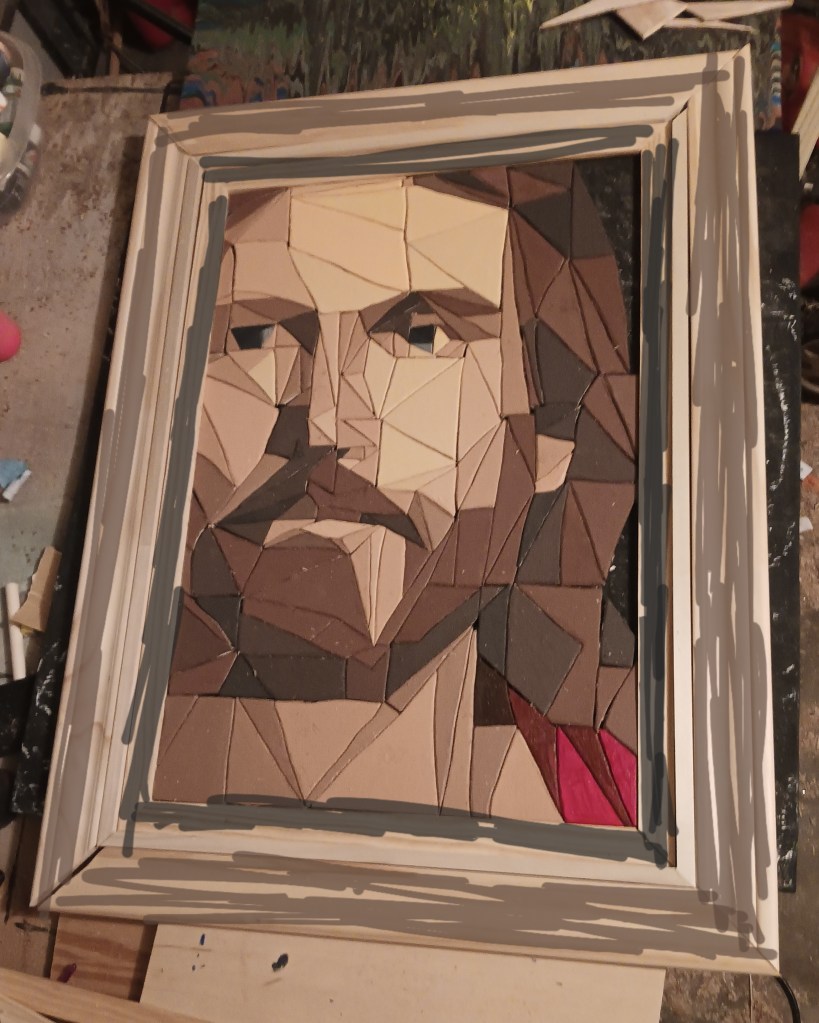
I knew it needed a special frame worthy of the subject it depicted. So I tried an idea I had seen on another artist’s page – a 3-tiered frame. I was extremely picky with the thickness and height of woods I was using. I spent a solid hour at Lowe’s looking at options. For the innermost part I actually used a table saw for the first time so that I could get the thickness I wanted.
Then came time to decide on what colors to stain the frame. I got on a Facebook woodworking group to ask for suggestions. So many people were very kind and complimentary. A few offered to buy it, others asked for the pattern. And as I expected, some chose to make fun of the subject I chose to portray.
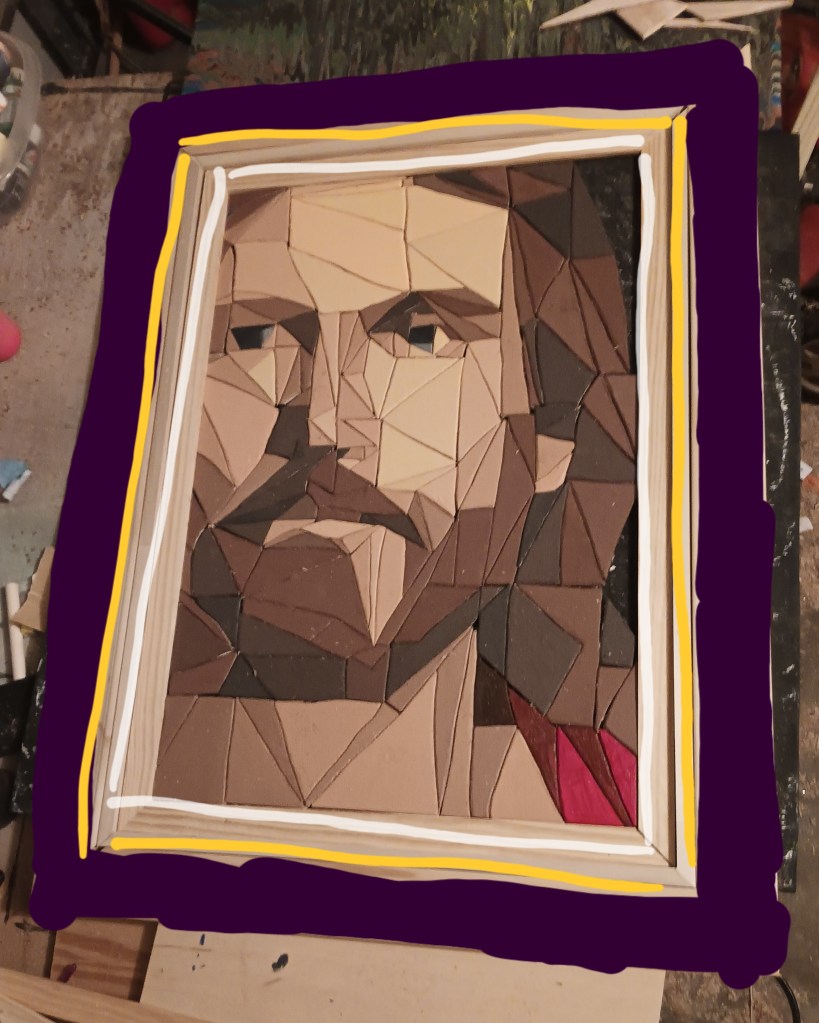

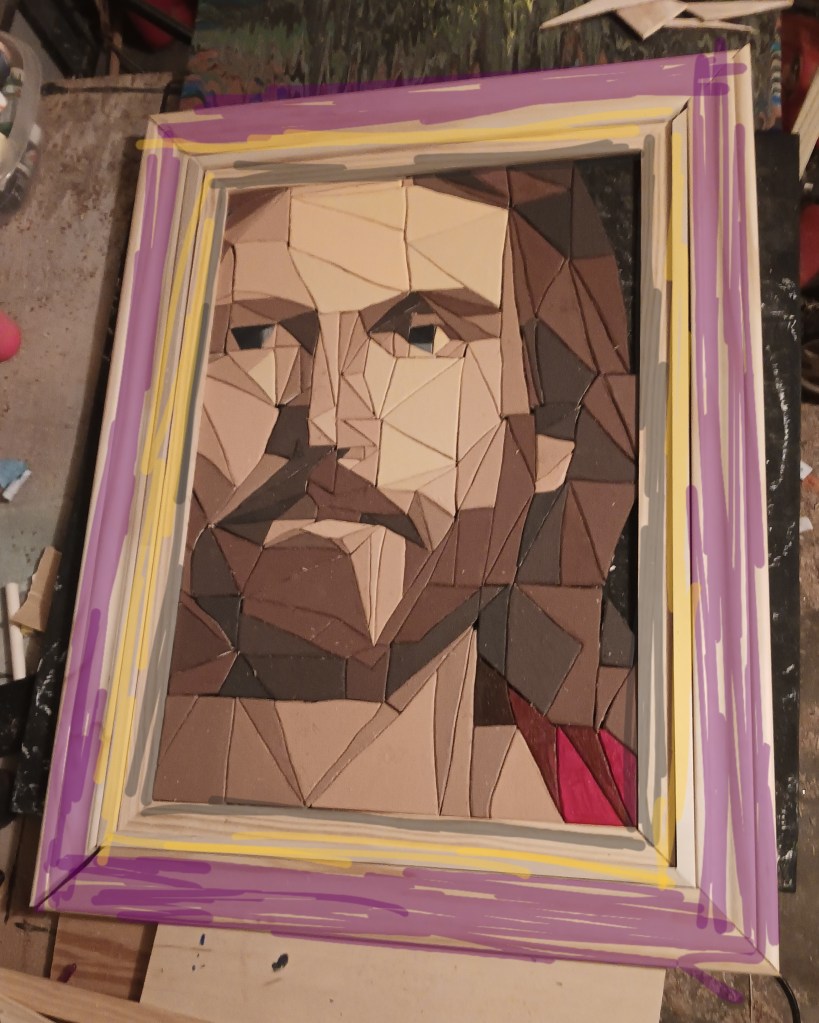
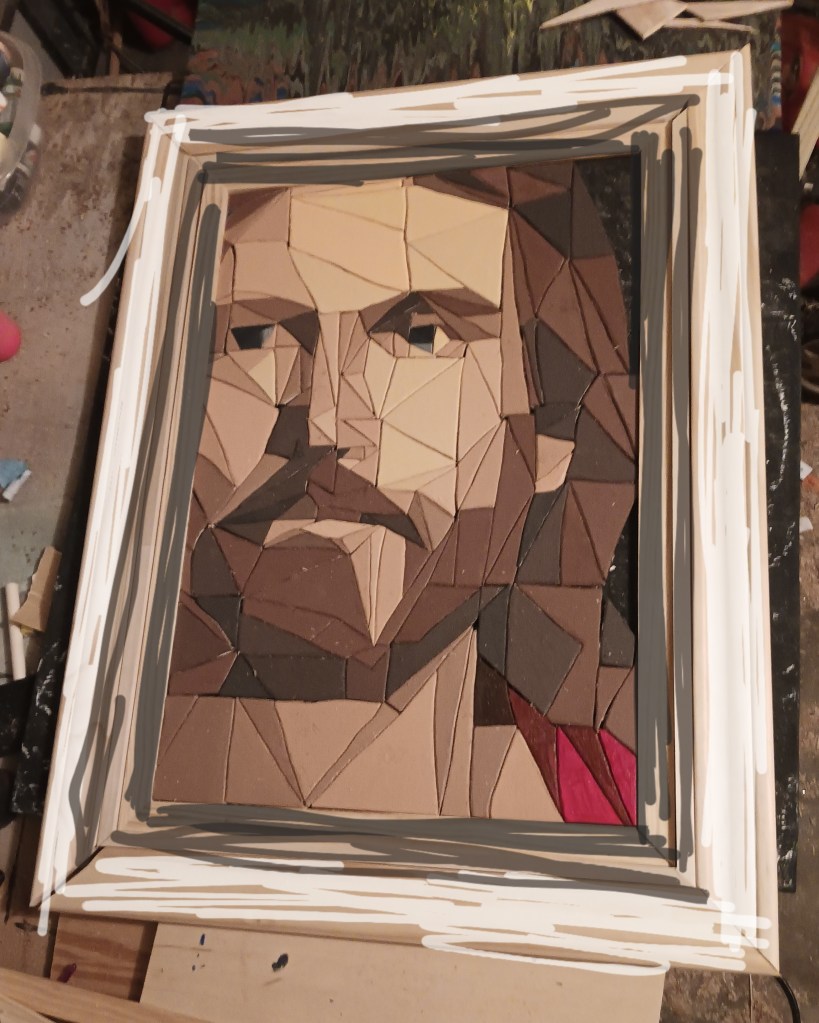
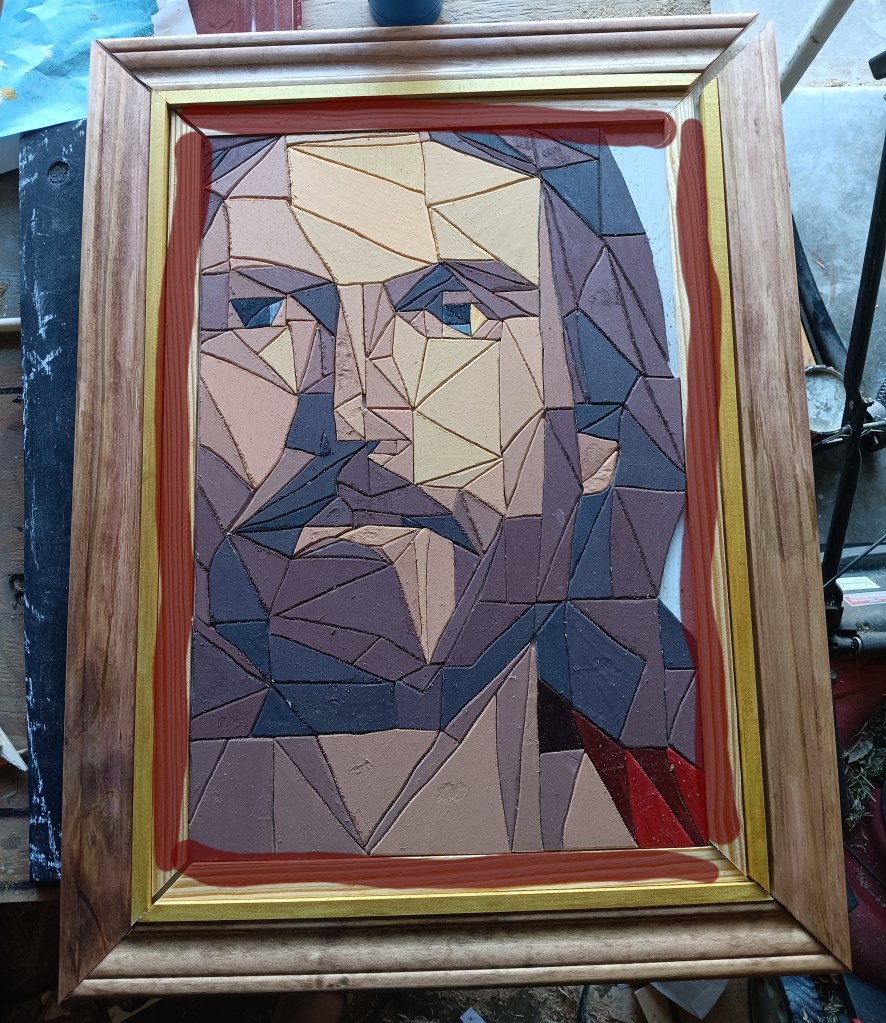
One person suggested a wine stain. I had never heard of it, but loved the idea, since wine has ties to the Sacrament. Another suggested leaving it plain since Jesus was a carpenter. Other suggested purple to symbolize royalty. So I several different color combinations on my phone.
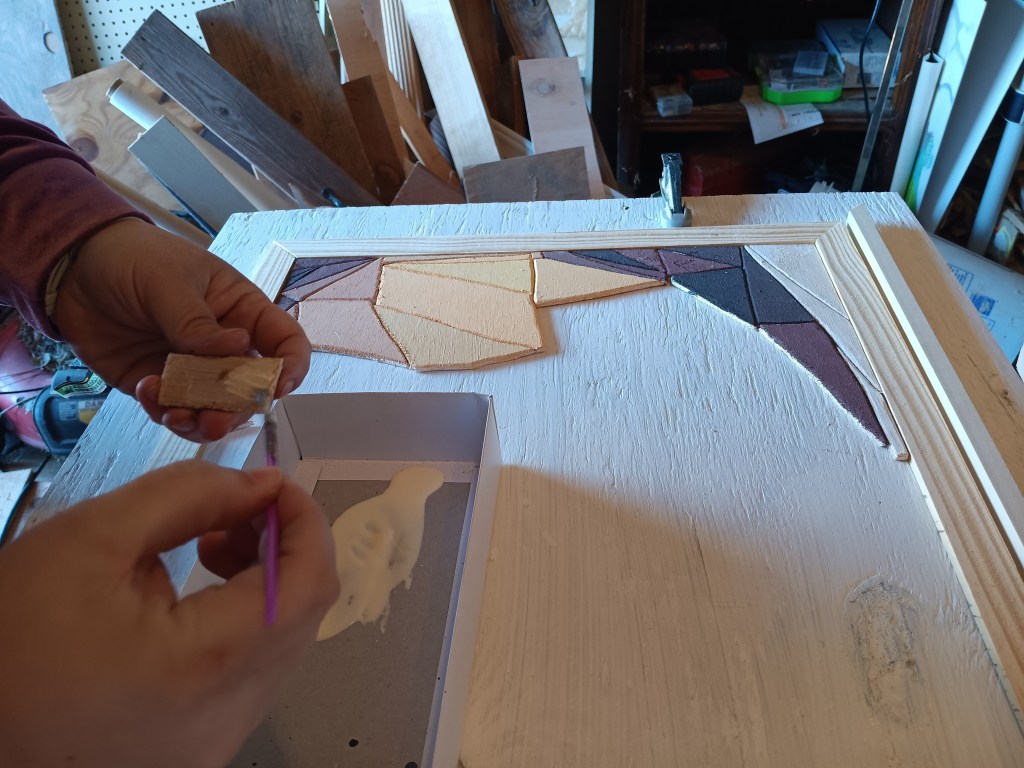

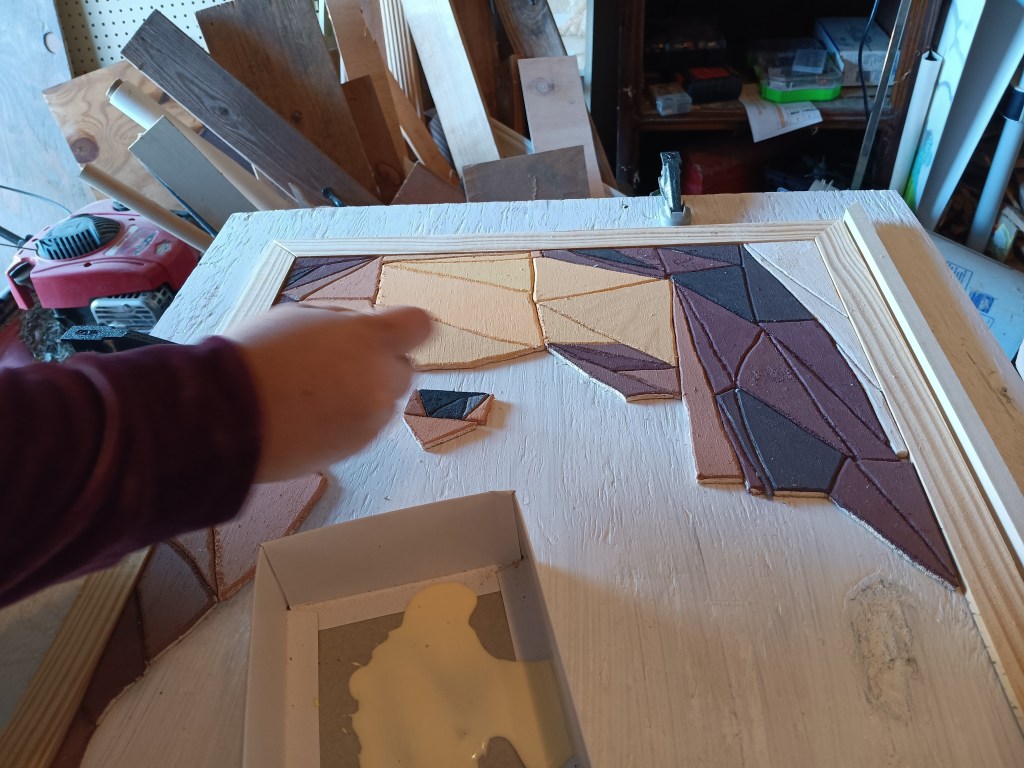
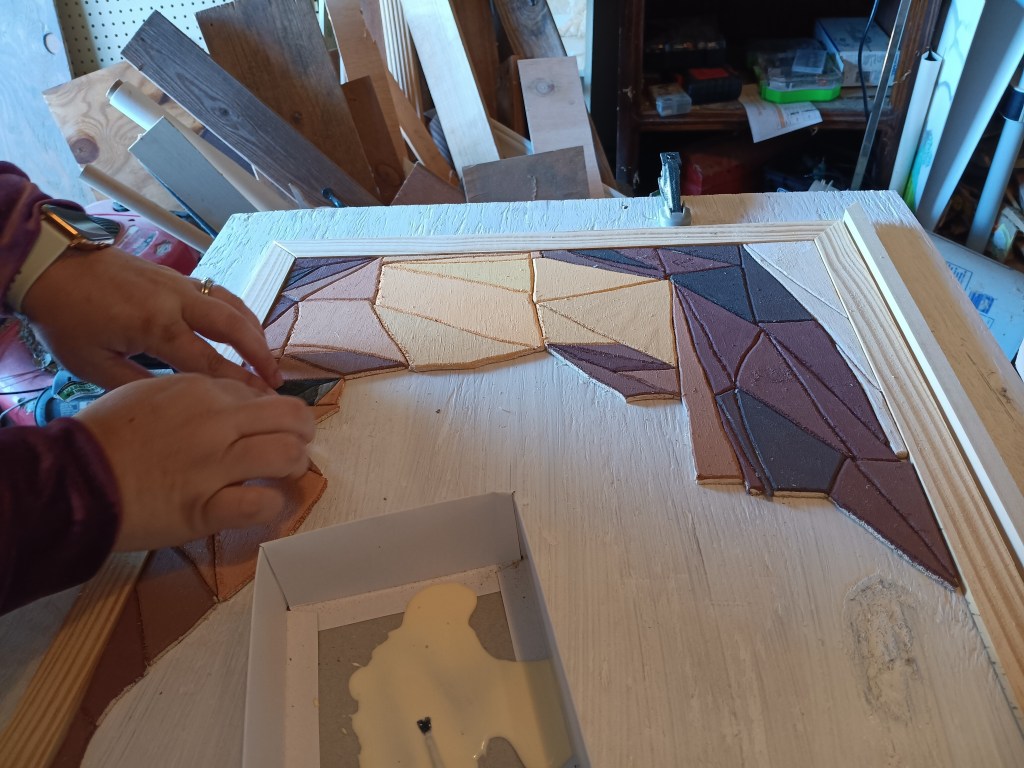
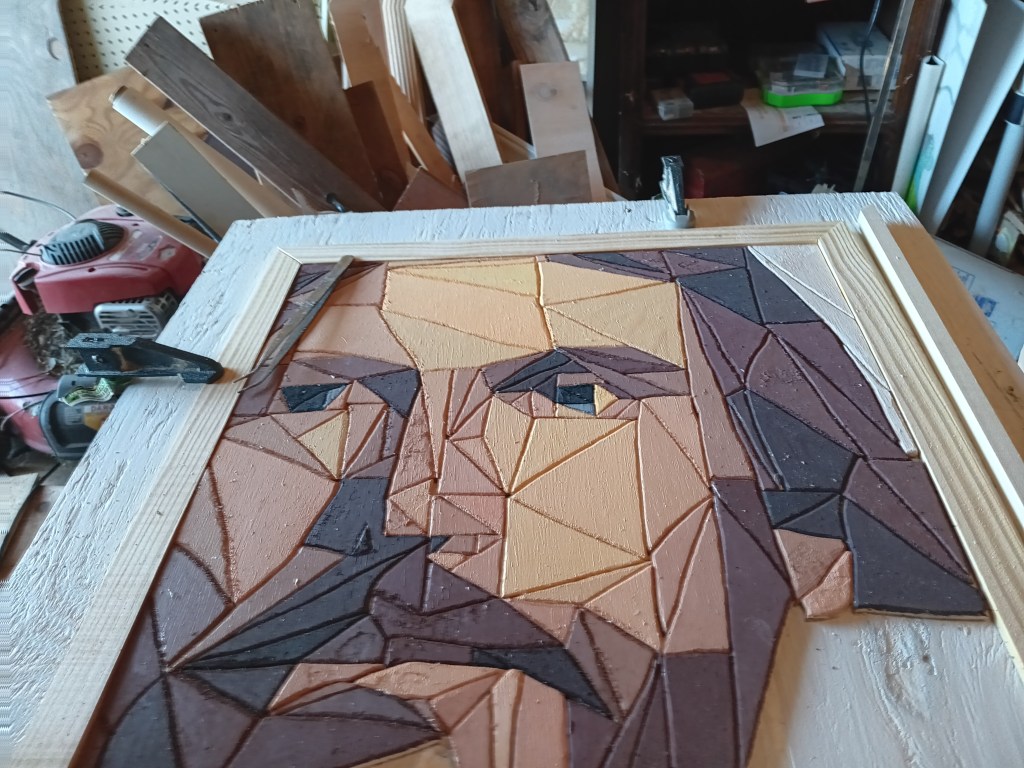
I wanted a white backing, so once that was dry I was able to glue each piece on!
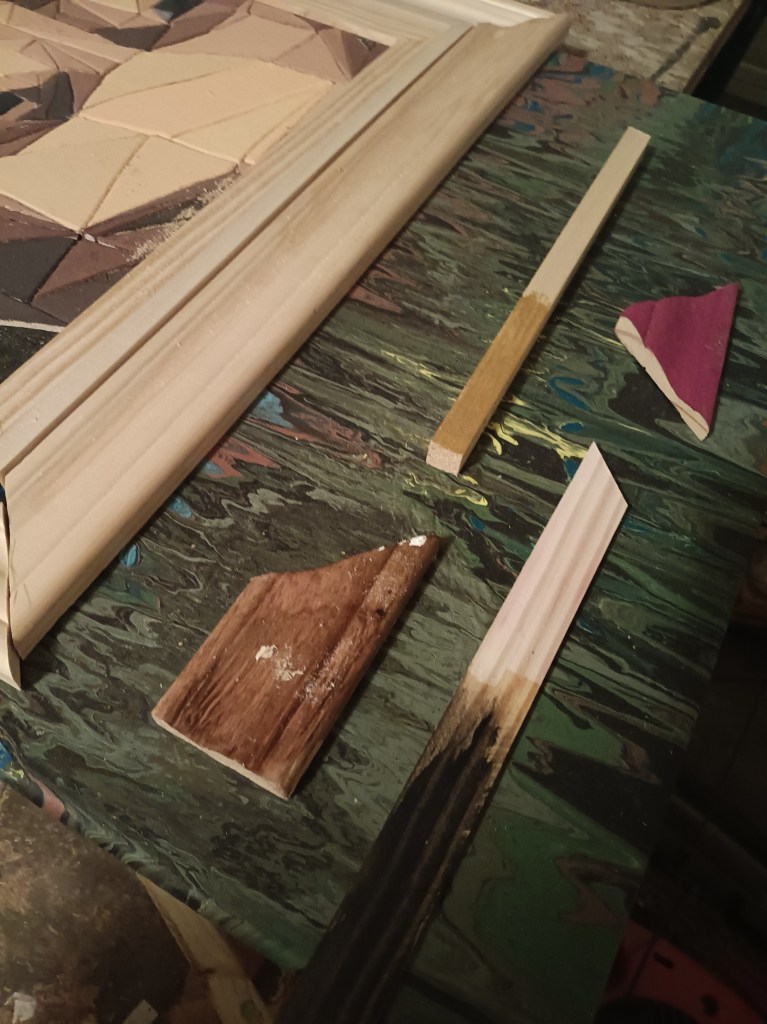
Unable to see what the frame pieces would actually look like, I tried staining a few scrap pieces. Both front and back of each piece was stained with a different color.
I wasn’t really happy with any of the colors by themselves, so I created a new stain. I added some deep red to an Early American stain and rubbed it on, and then rubbed it off so it wasn’t so dark.
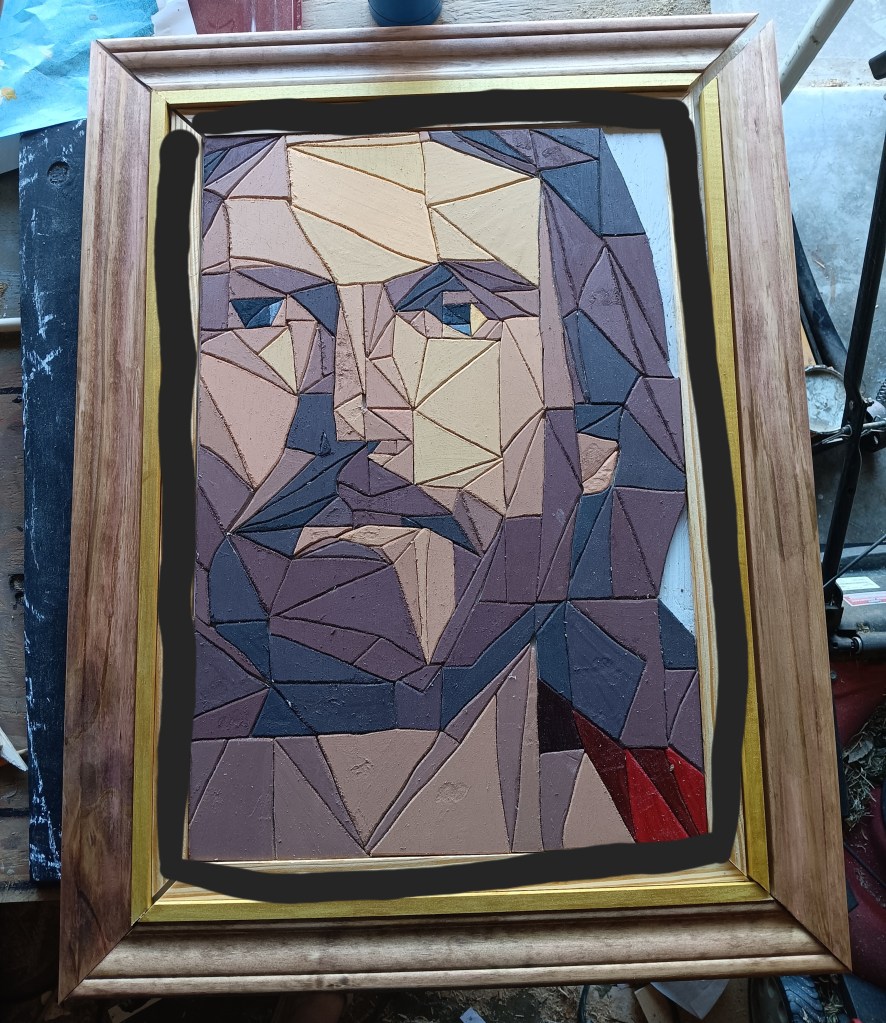
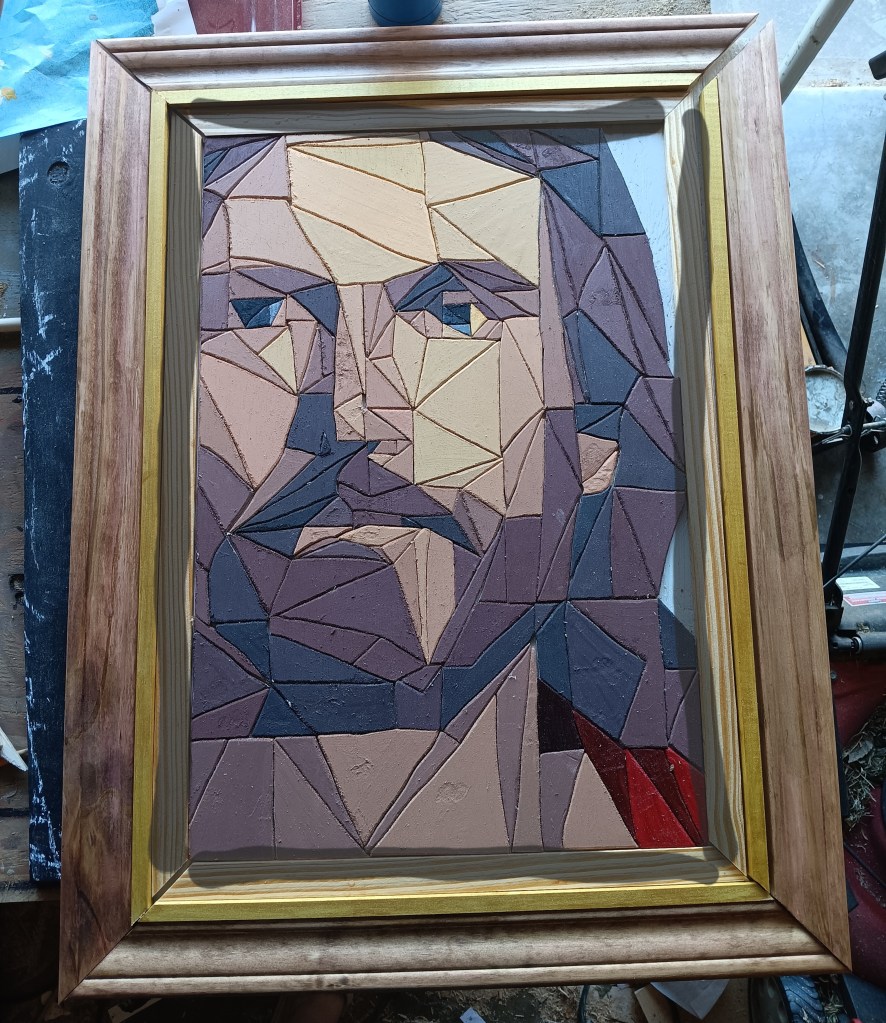

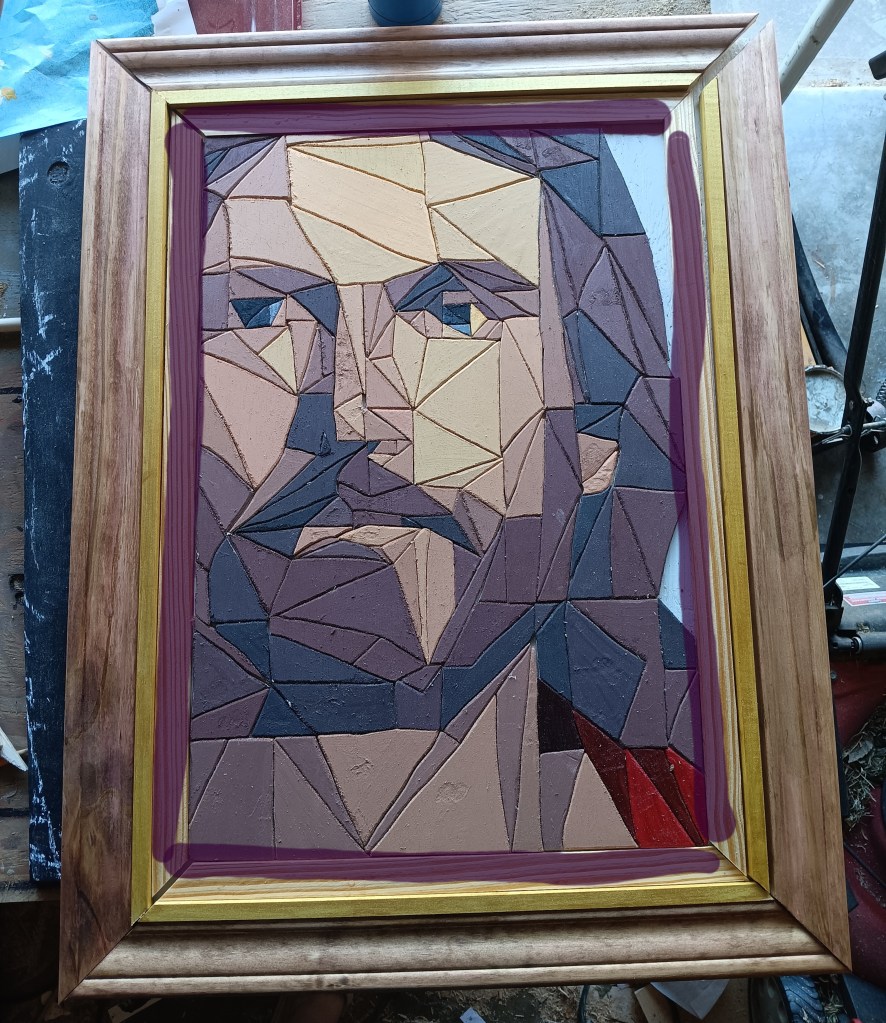
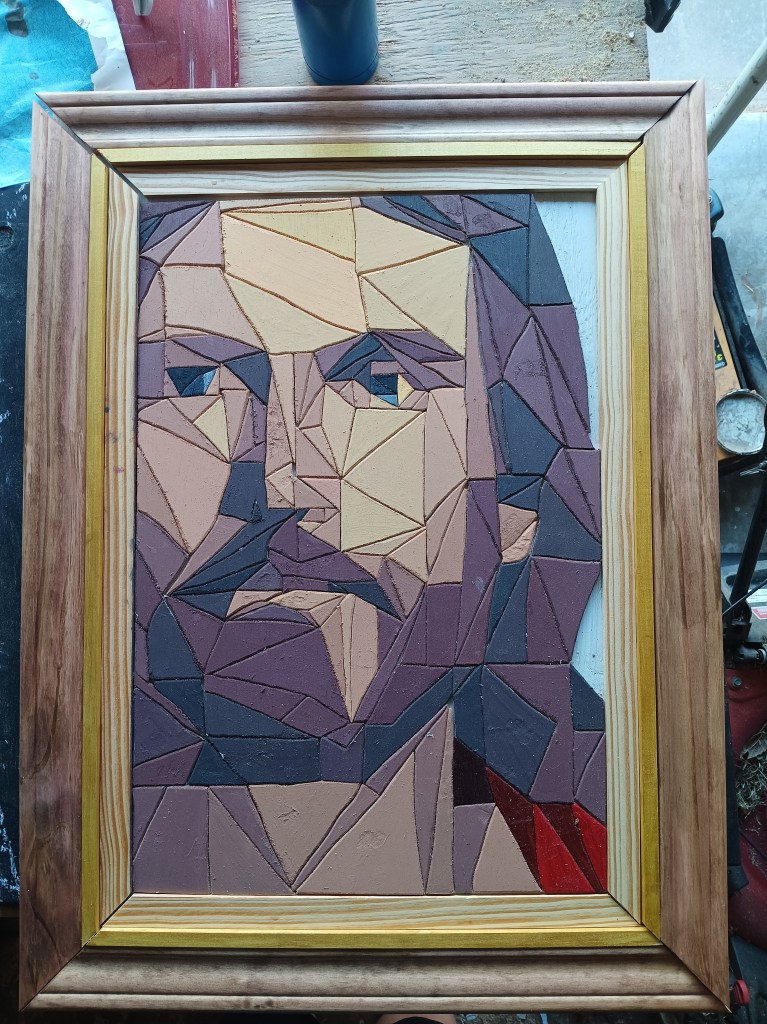
I had decided on the outermost frame, and I used a gold metallic paint for the middle part, but I was still unsure about innermost part. So I went back to my phone.
I really wanted to try a muted purple, but ended up not liking it so I turned the wood around and sanded any stray marks off.
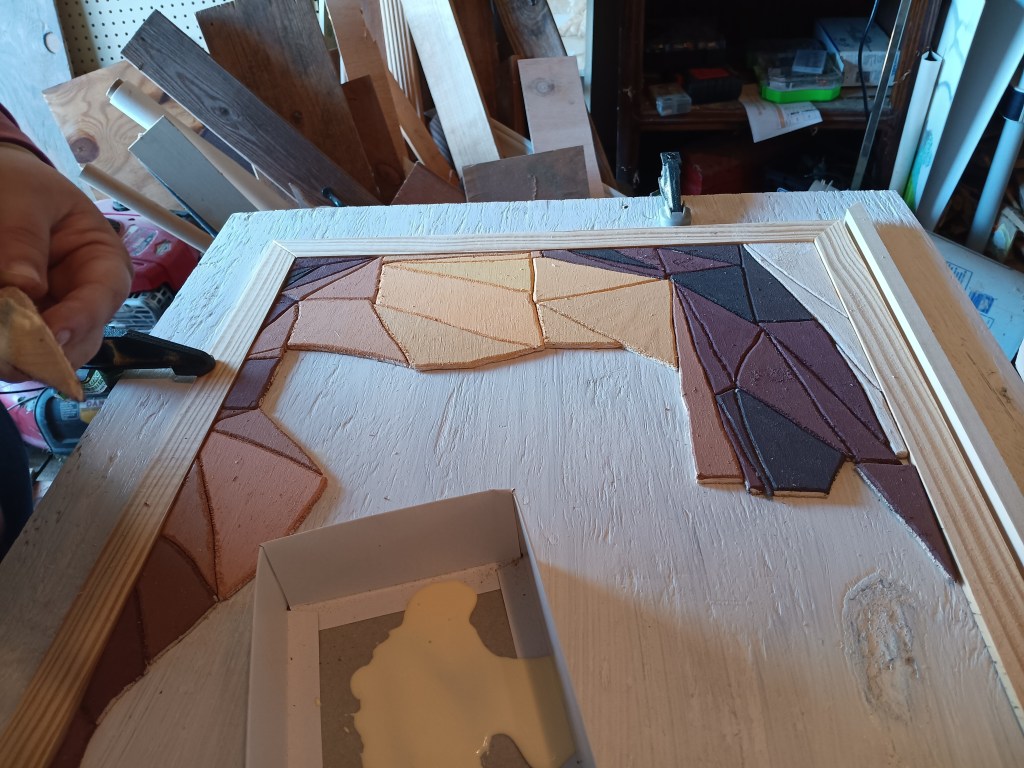
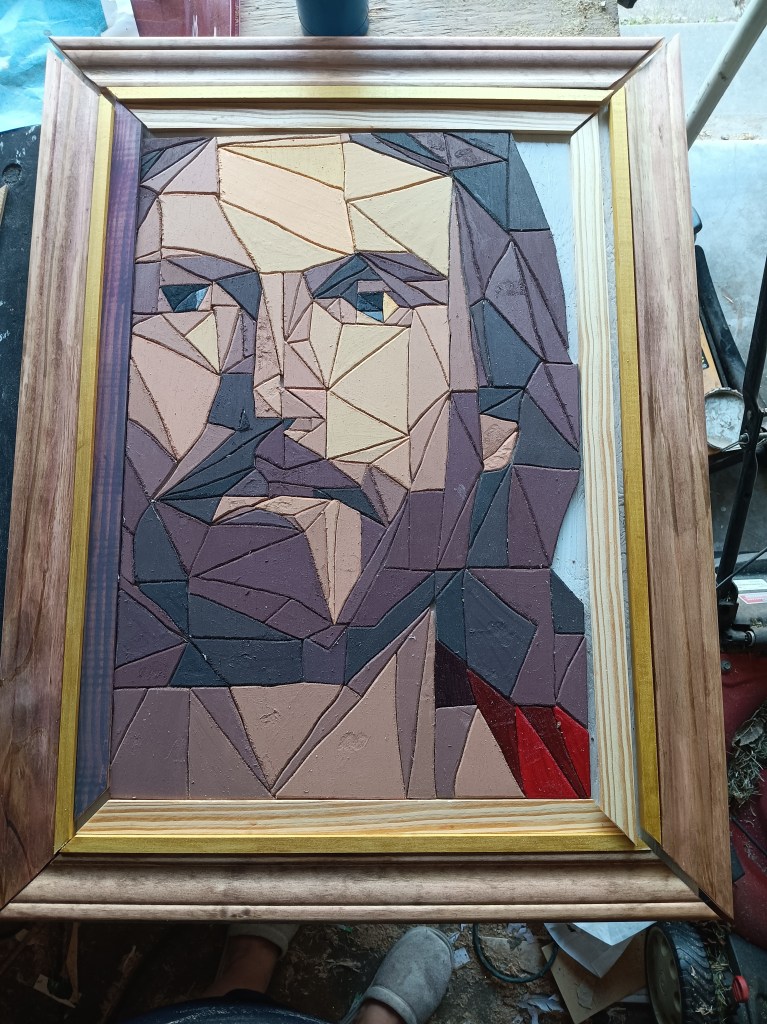
I glued everything in stages, then added a layer of warm statin polyurethane.
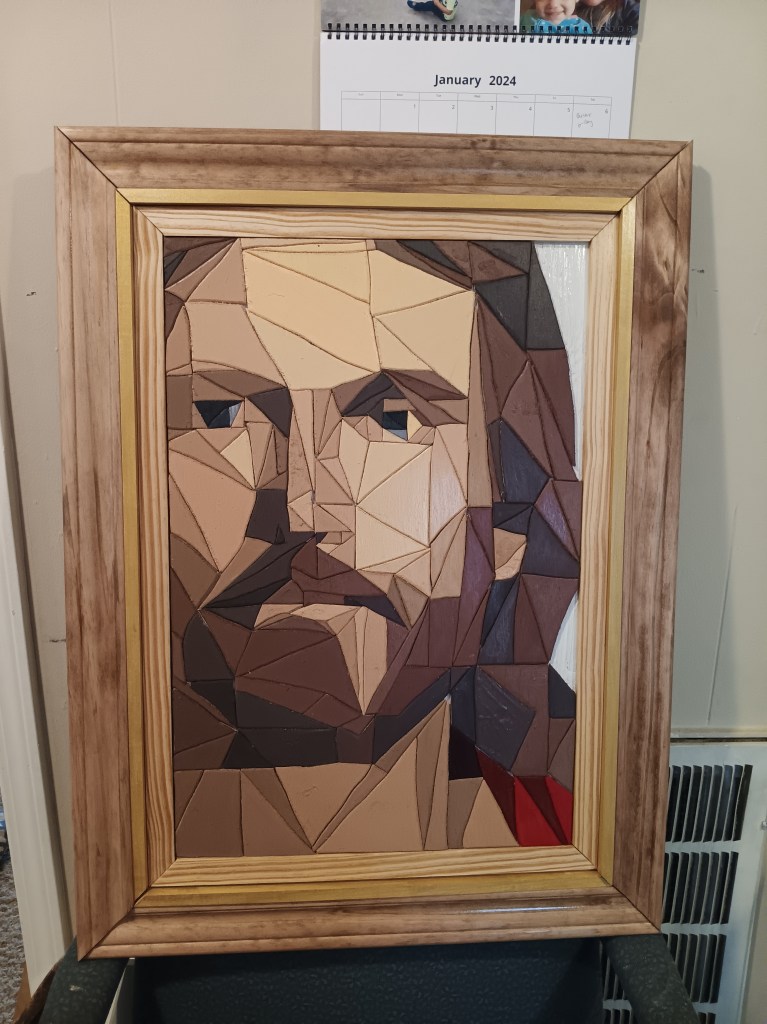
I was so excited I brought inside the next morning so everyone could see it. But since it was still a little sticky, I couldn’t put the wire on it to hang it.

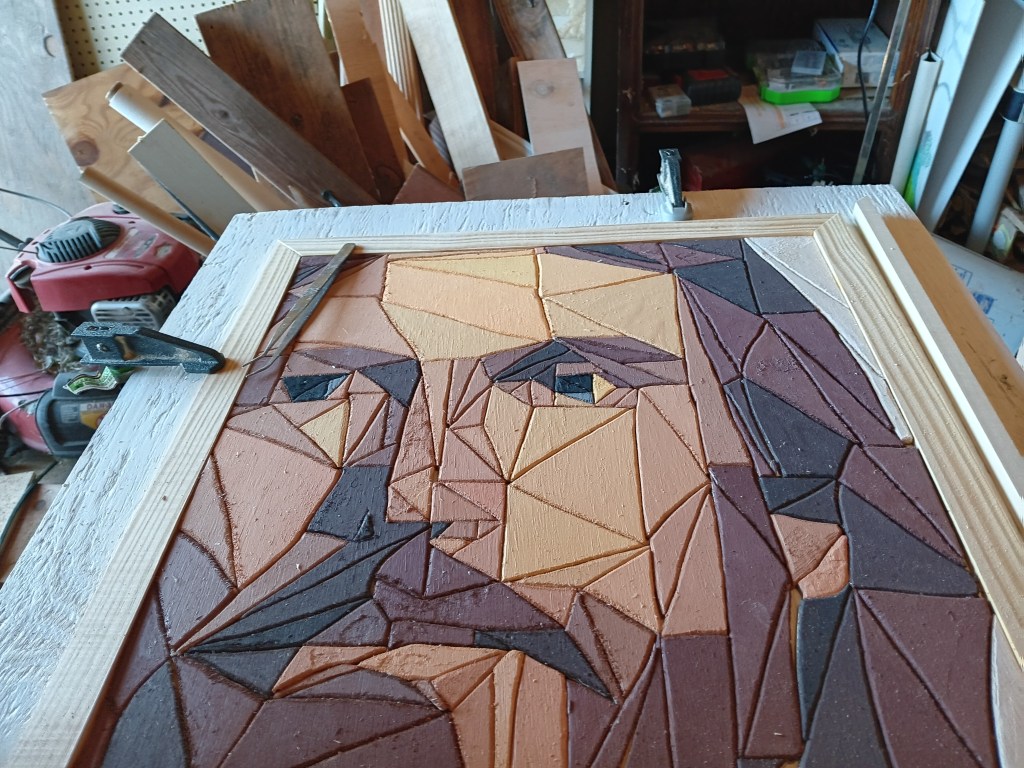
After another 24 hours I was able to put it in its final home. It is my masterpiece. The pinnacle of all of the skills I have acquired. My favorite piece I have ever done. I love it so much.
The title of this piece is “He is Jesus Christ,” after the Rob Gardner song of the same name. Please listen to it as you look at this image. https://www.youtube.com/watch?v=PJQ_TyUgYmg
Since this project was such a joy for me to create, I would love to share the pattern with you!
If you would like a larger file size, or have any questions about my process, please feel free to contact me!


Love this project and want to see what I’m creating now? Check out my Instagram!
