

Summer is my very favorite season. I love how you can spend all day playing outside, and well into the night. I wanted to play on this idea of summer at night, and how romantic it can be. As a teenager growing up in Boise, Idaho I spent many a summer night watching fireworks from the overlook near our house, from which you can see the Boise Hawks baseball stadium. They did fireworks after every game it seemed. And on the 4th of July, the overlook was crowded with people in camping chairs in eager anticipation of the impressive display of fire in the sky. I often dreamed of sitting there with my sweetheart, watching fireworks as we cuddled.
Alas, I didn’t meet my sweetheart until many years after I moved away from Boise – and it wasn’t in the summer. But I love the idea that fireworks can both be seen and felt when you are with someone who sets your heart on fire.
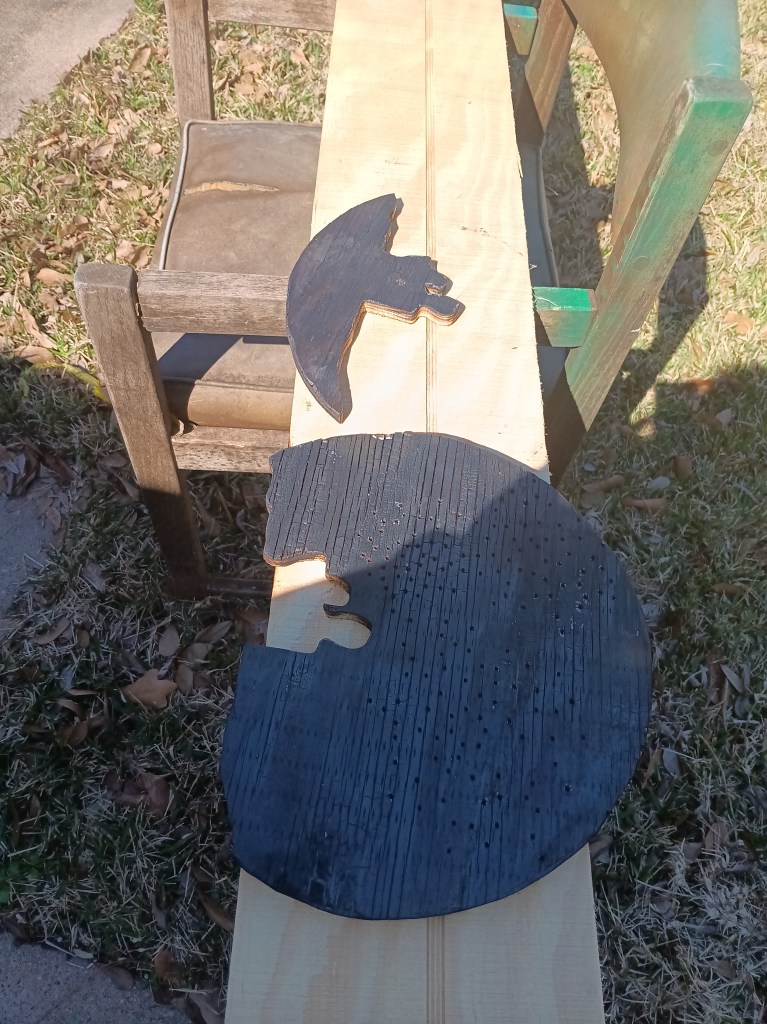
The process of making “Summer Fireworks”
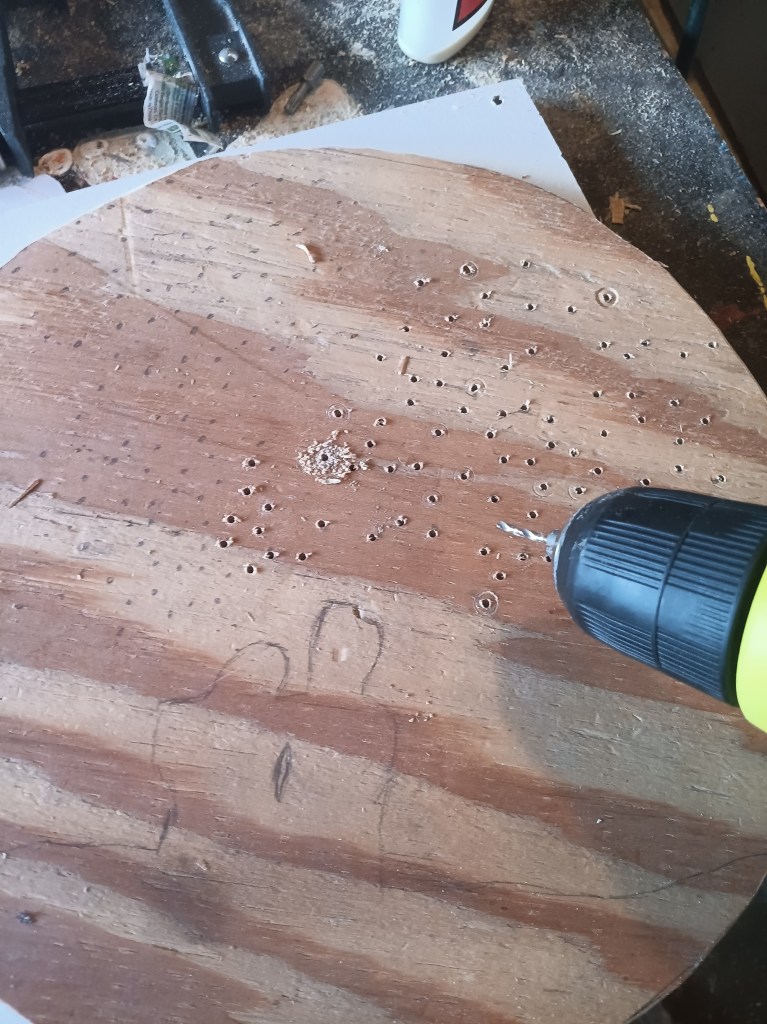
Once I cut out my circle and drew my initial design, I drilled over 100 holes. This part was endless and made me want to rage quit.
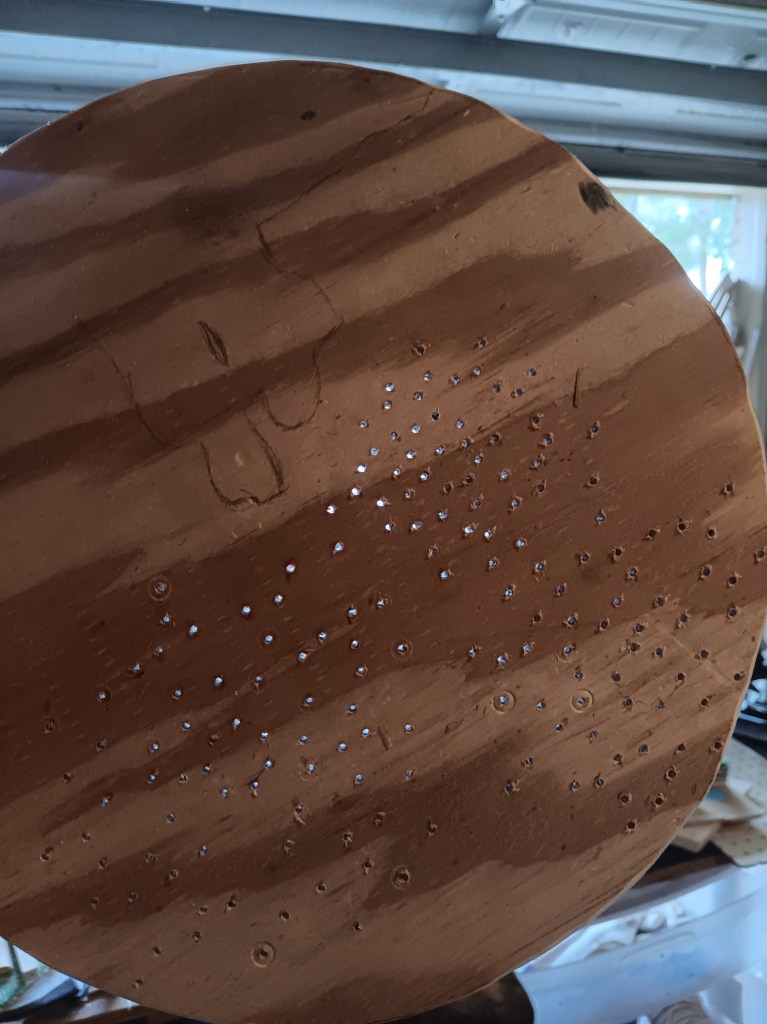
But I did like the way the light shone through them.
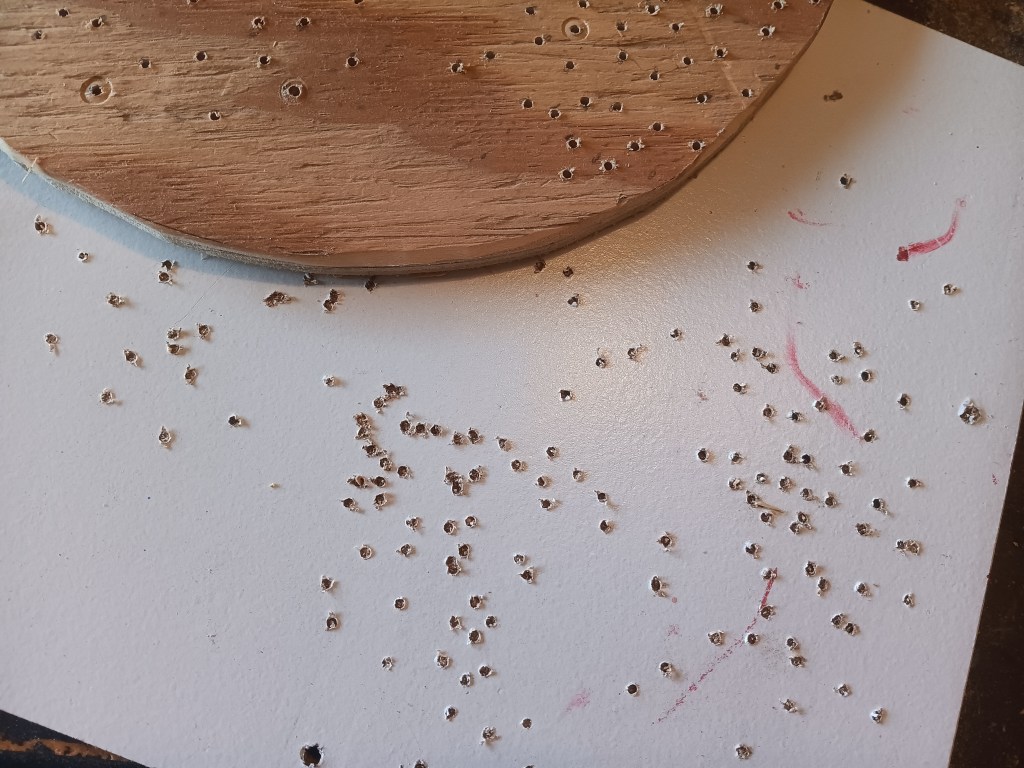
I had drilled all of the holes whilst the wood was atop a “sacrificial board.” This is the woodworking term used for a board that’s sole purpose is to make cleaner cuts on the presentation piece.
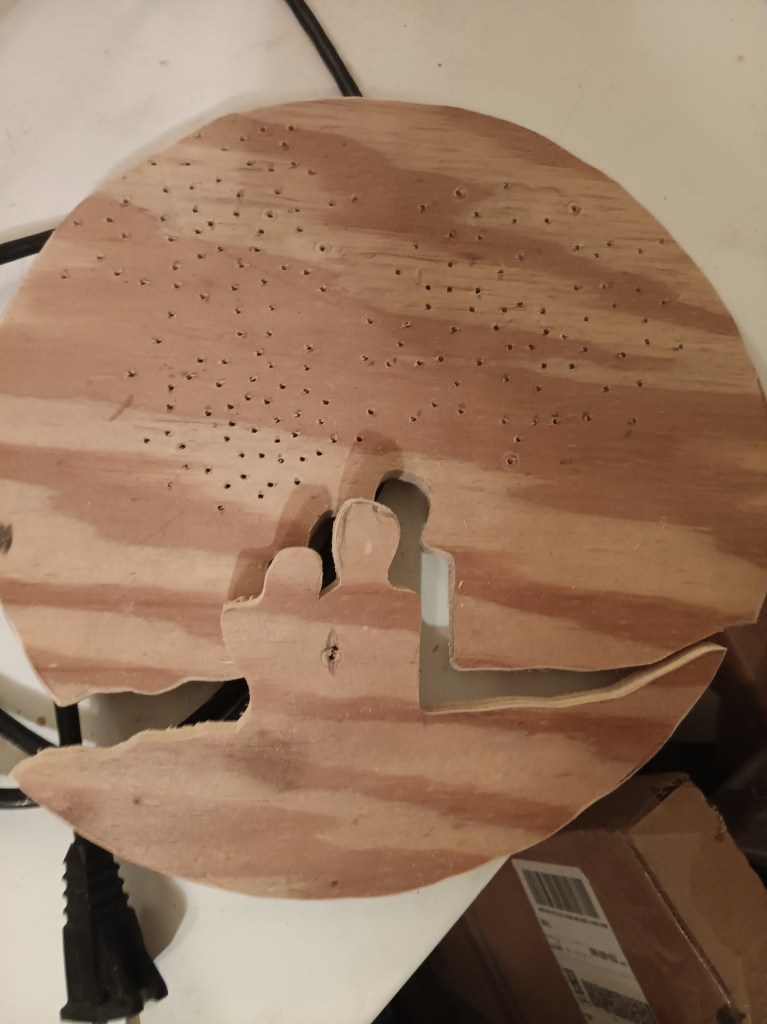
Then I cut out the cuddling couple.
Then I torched each piece separately. I wanted there to be contrast between the couple and the sky, though I wanted both dark.
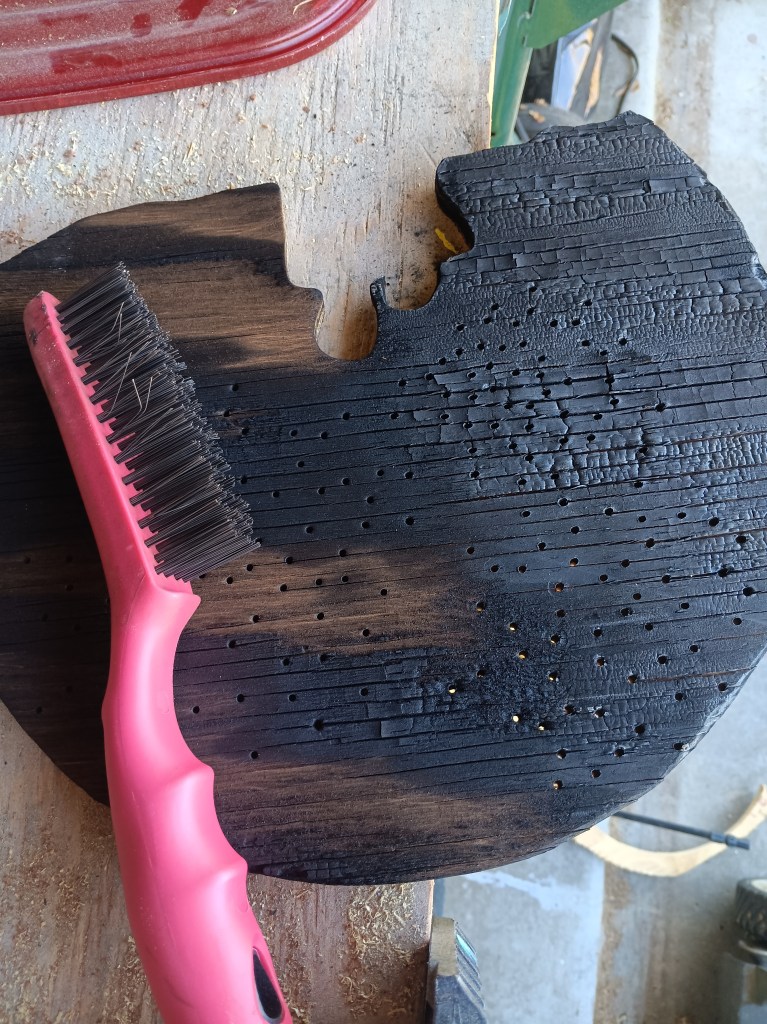
For the sky I really only wanted the wood grain black, to give a sense of movement to the clouds and gunpowder in the air. So, to get rid of the excess, I used a wire brush and a lot of elbow grease.

And it turned out exactly like I wanted.
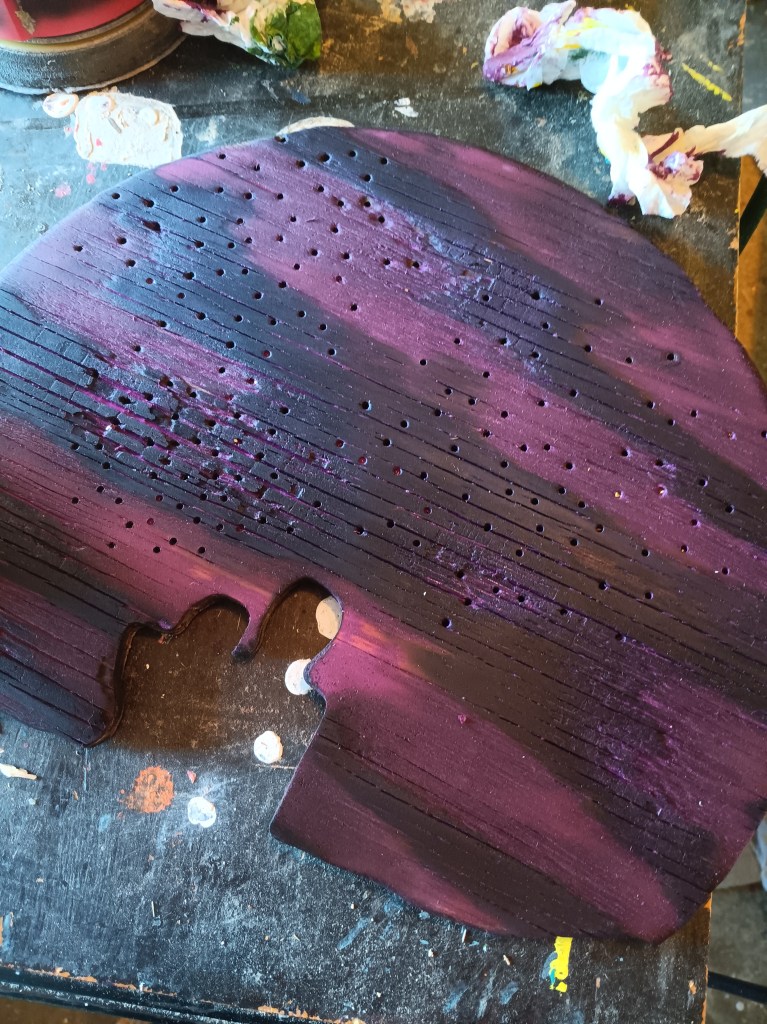
Then I stained it with a purple stain to give the illusion of dusk.
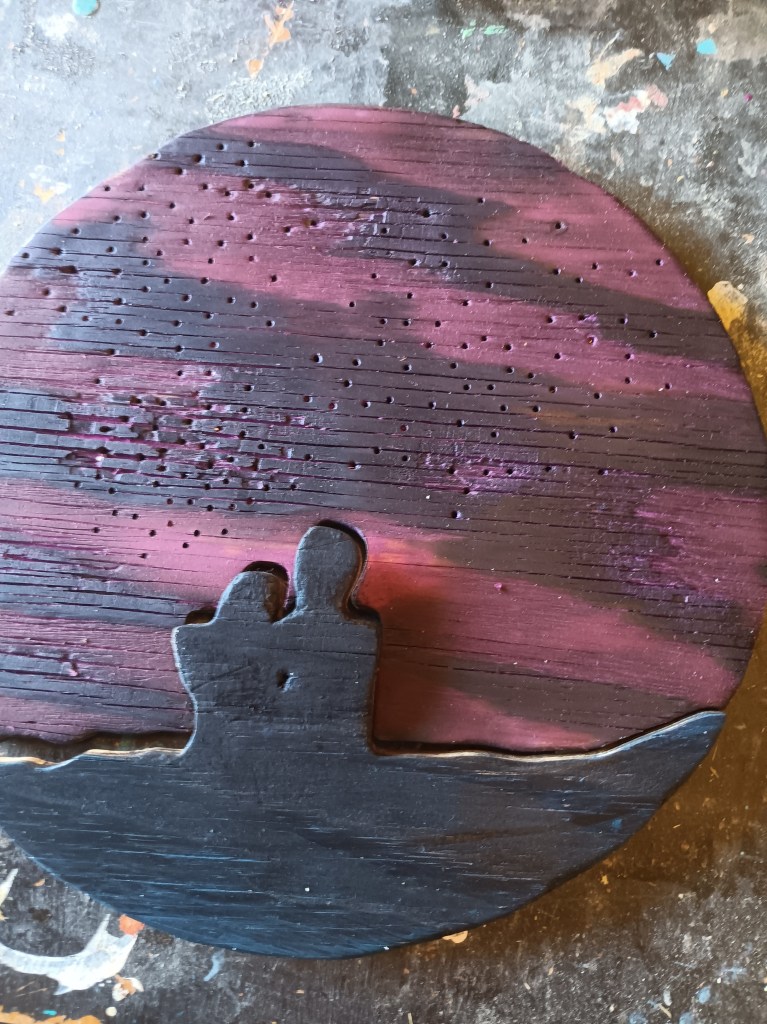
And I added the couple back in to see how it would look together.
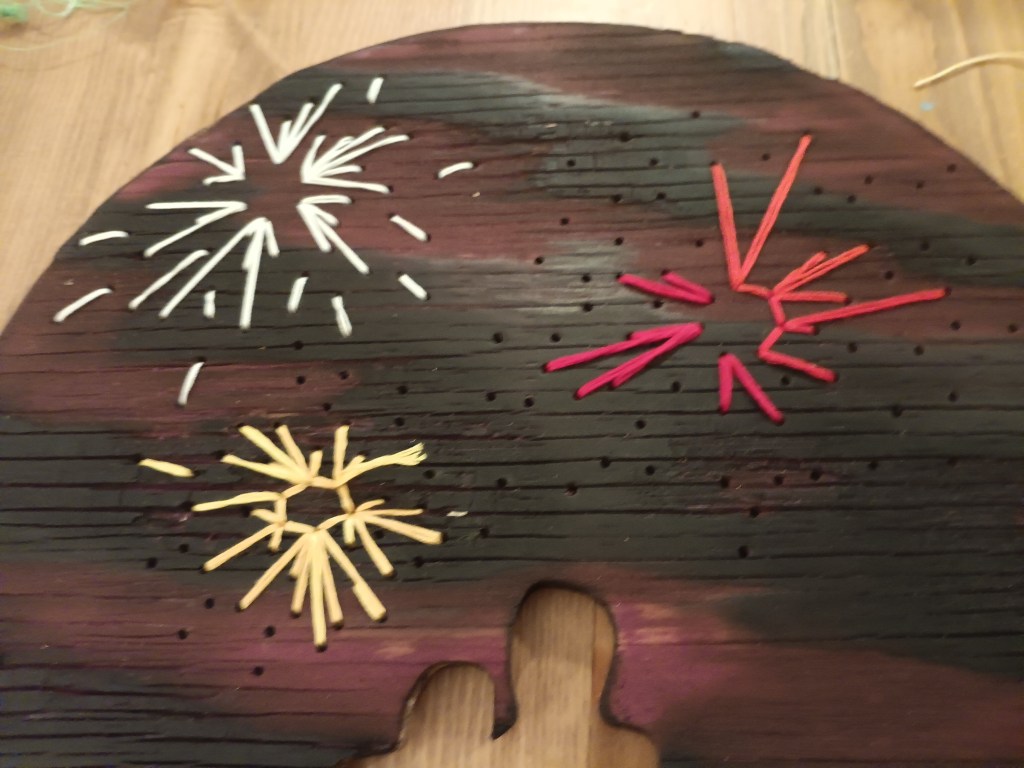
Then I started the embroidery. I used to cross-stitch as a teenager, so I was excited about this part. But my holes were so small they barely fit my needle – which I anticipated. But what I did not account for was just how hard it would be to push the needle through multiple times with various strands of embroidery floss.

It was a mess in the back, and I redid it a few times because I wasn’t crazy about the color combinations.
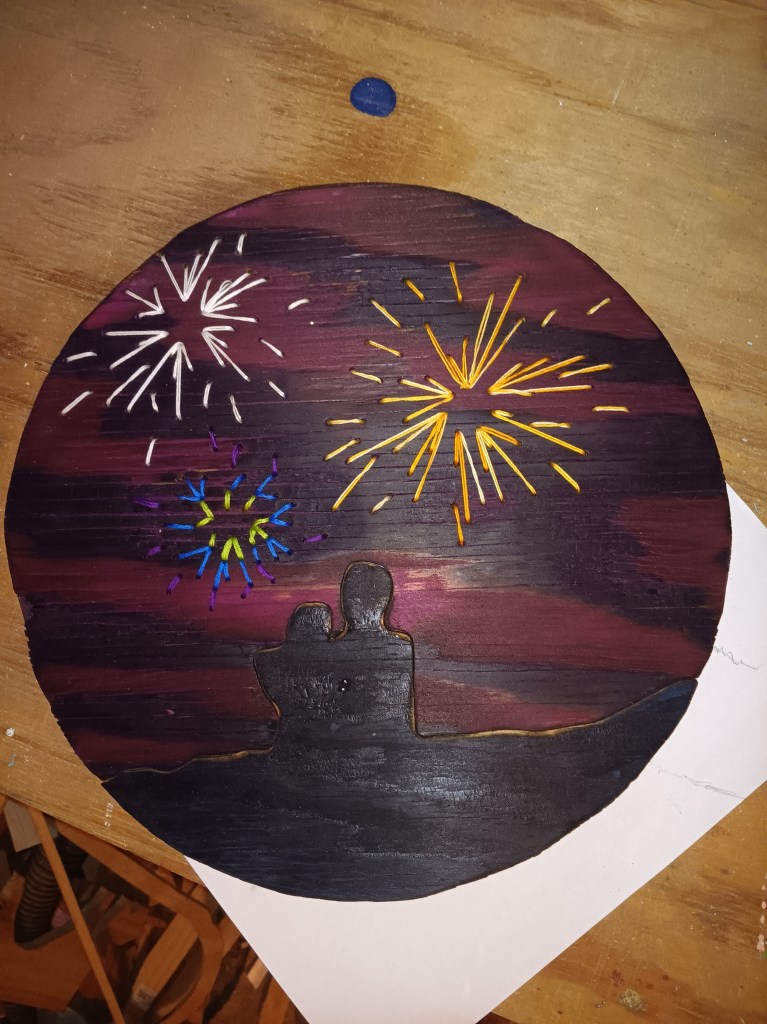
But in the end, I liked how it turned out. I sanded the couples and surrounding landscape to give a few highlights and then sealed the entire project with polyurethane.
I really wanted to play up the embroidery aspect of it, but the hoop was along a nightmare. The biggest hoop I could find was 12 inches, which resulted in a lot of sanding on the outer rim. And since the inner hoop was never going to fit, I tried my hand at bending a thin piece of wood (first time!). I love how it turned out. And now it’s headed to its new home!

Leave a comment